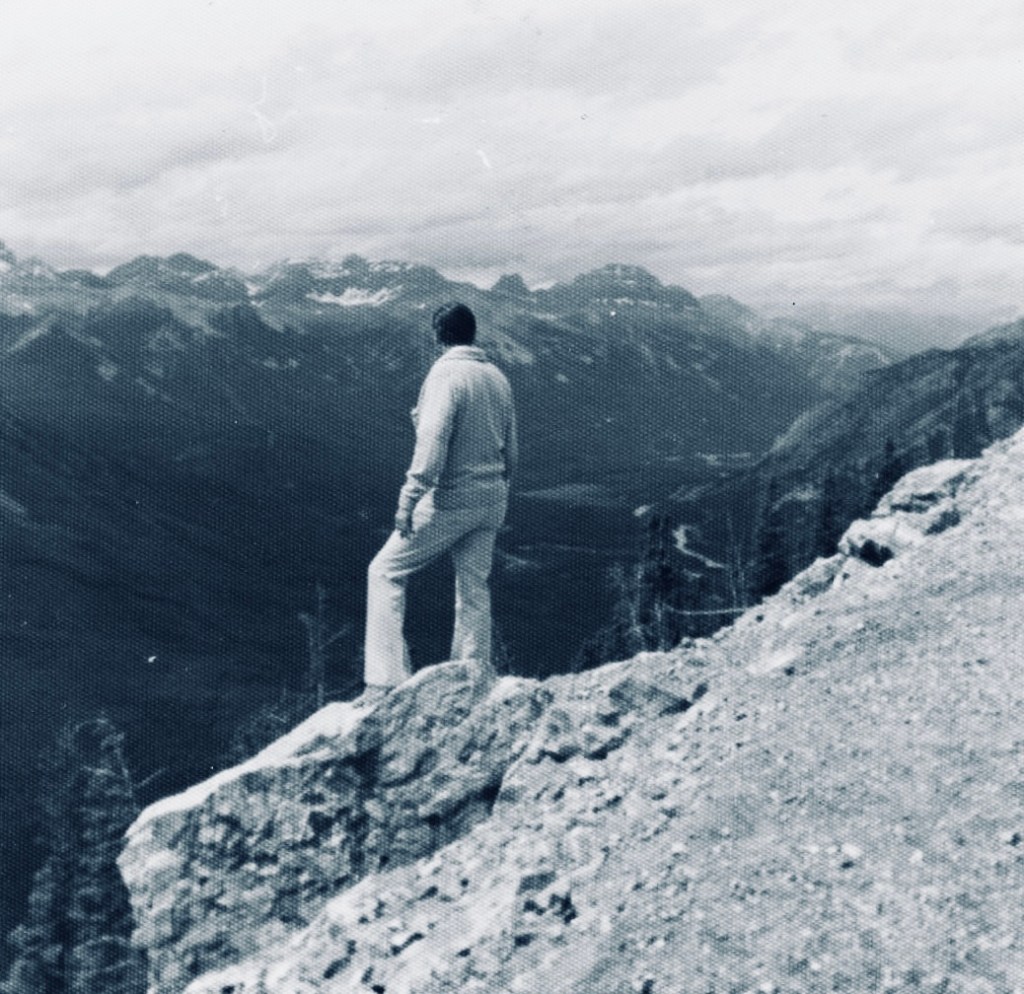
I was looking at Google Maps on my phone following directions to a restaurant. I sensed my husband, who was standing beside me, step off the curb to cross the road, so I stepped off too. His arm suddenly shot out and brought me to a halt as a bus went past us. My attention had been elsewhere and I had instinctively followed him. He just hadn’t been looking properly.
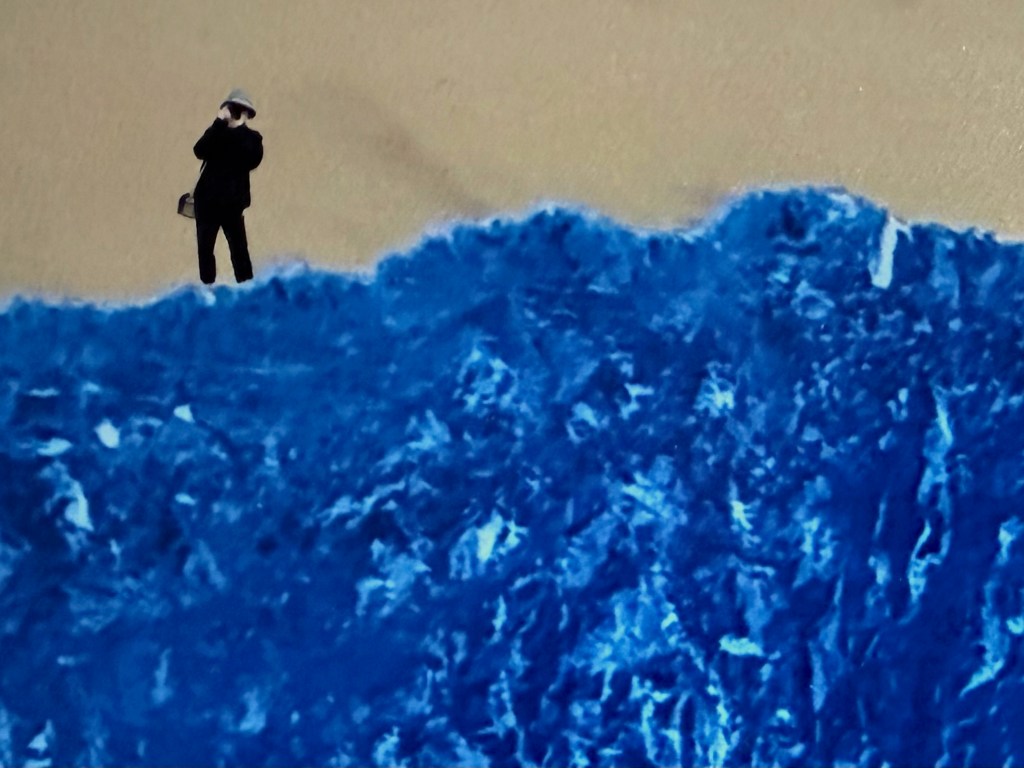
People walking along looking at their phones, not where they’re going, who they are about to bump into, or what’s going on around them, videoing events rather than experiencing the moment.
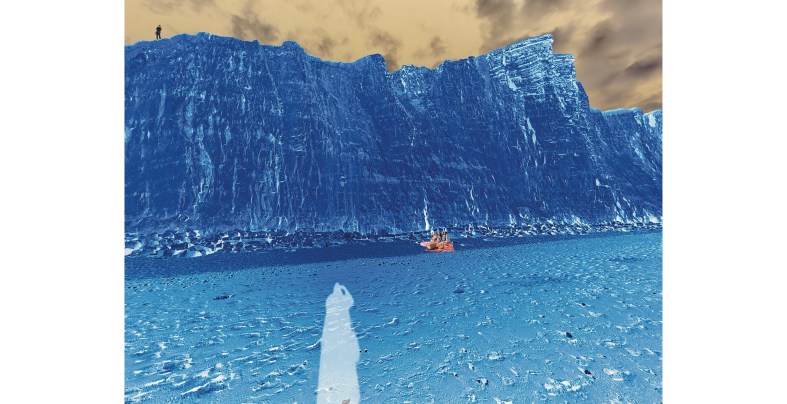
I recently took this photo of East Beach in West Bay.
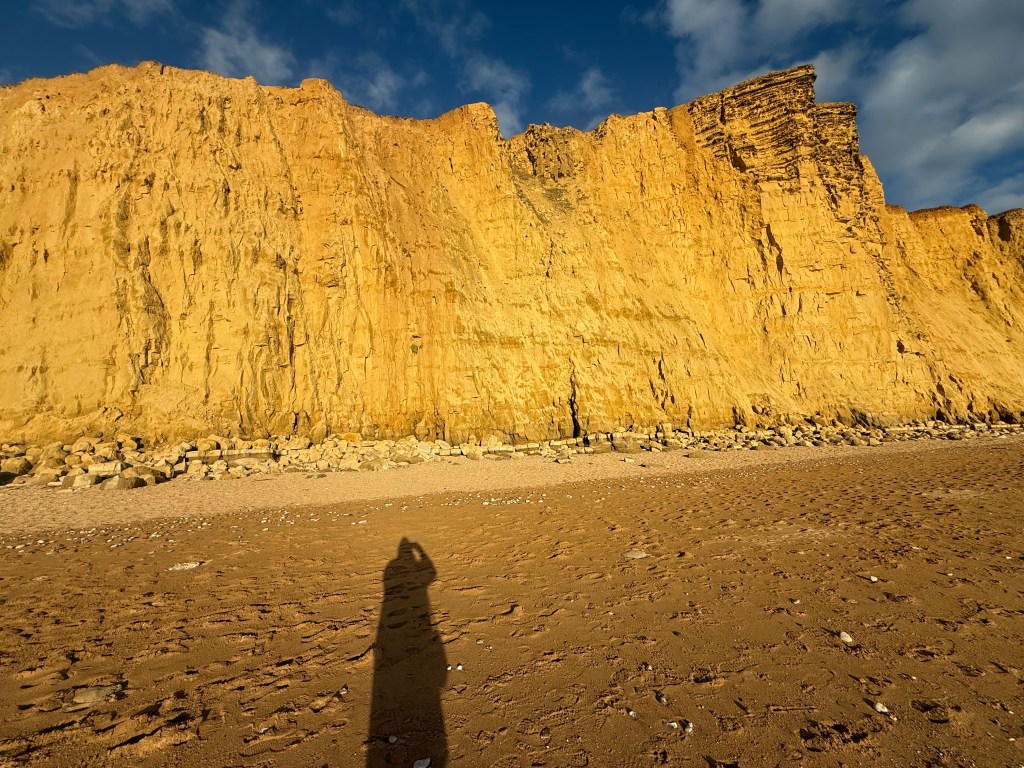
We’ve spent a lot of time over the last 20 years or so on this part of the south coast, between Weymouth and Lyme Regis. The cliffs are made of sandstone which is undercut by the sea and in recent years the incidence of rockfalls and landslips has increased to at least two a year – a woman walking on the beach was killed in one in 2012. The extent of the coastal erosion is evidenced by the regular closures and rerouting of the South West Coastal path. Yet despite the large yellow warning signs on the beaches, there always seems to be someone either standing near the edge of the cliffs or sitting close to their base, if not directly under them.
I suppose that I’m interested in the sense of a general lack of awareness, which often comes about by seeing life through a lens rather thna living in the moment.
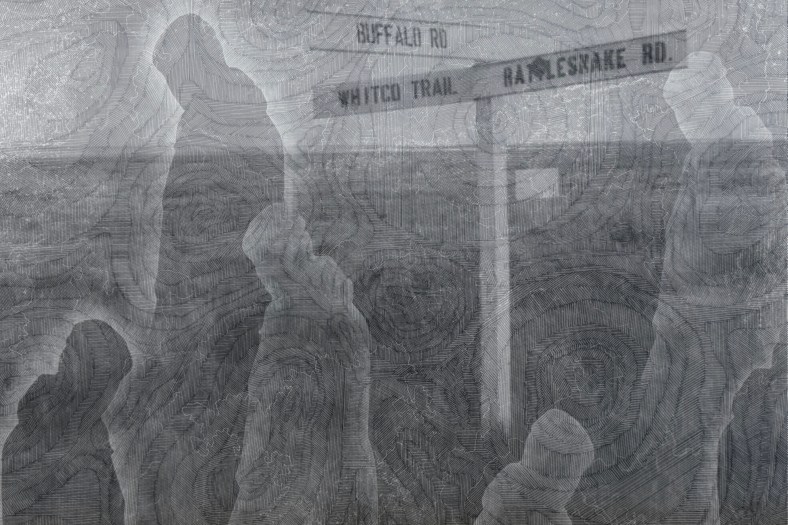
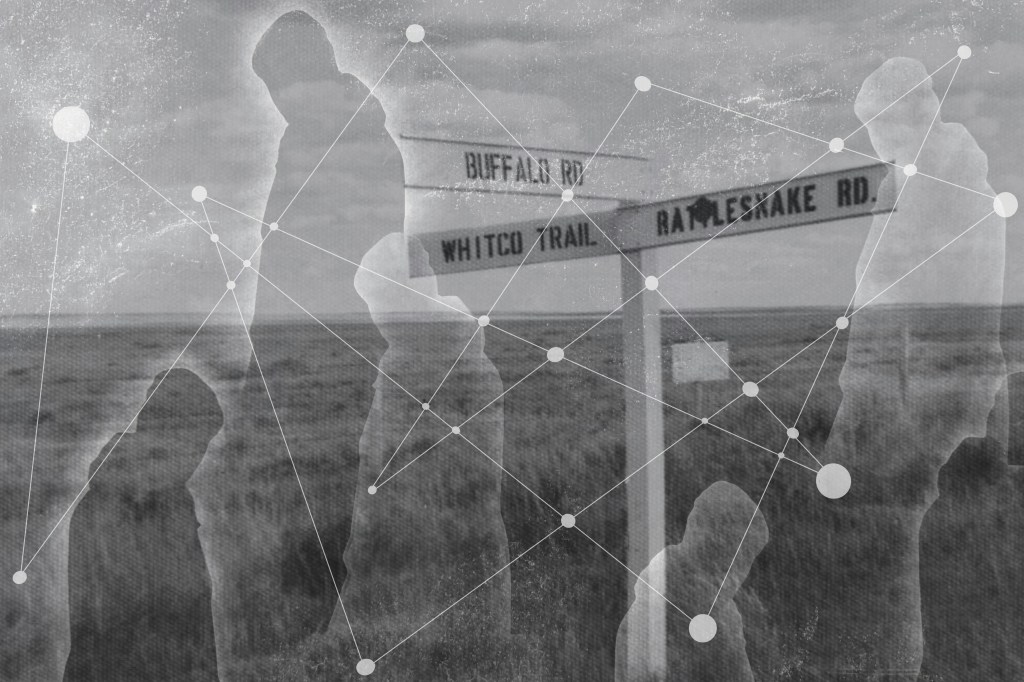
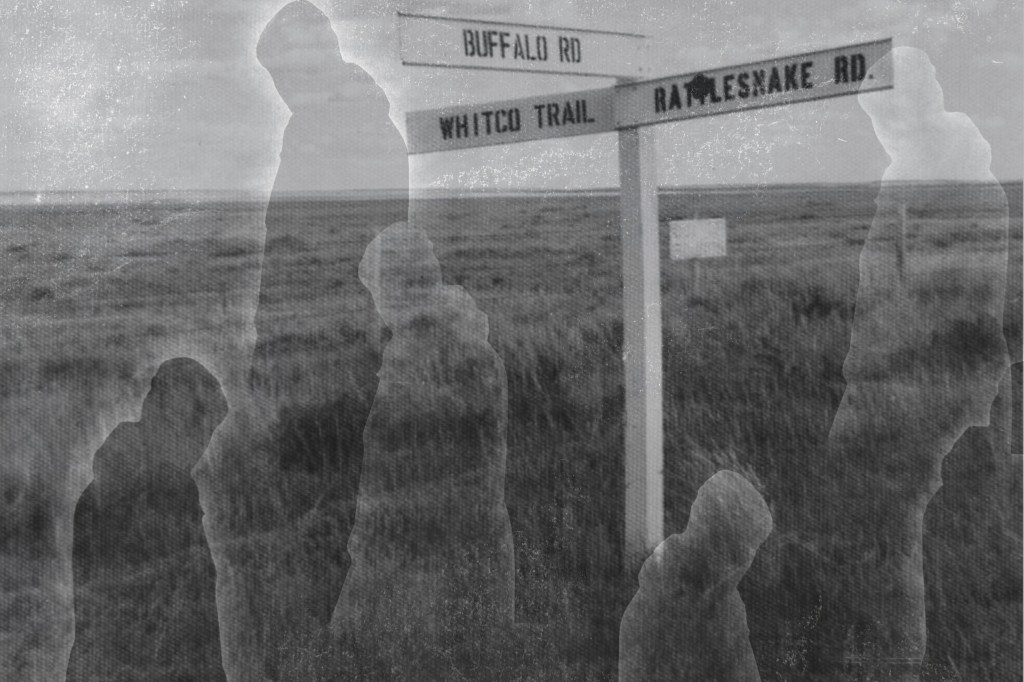
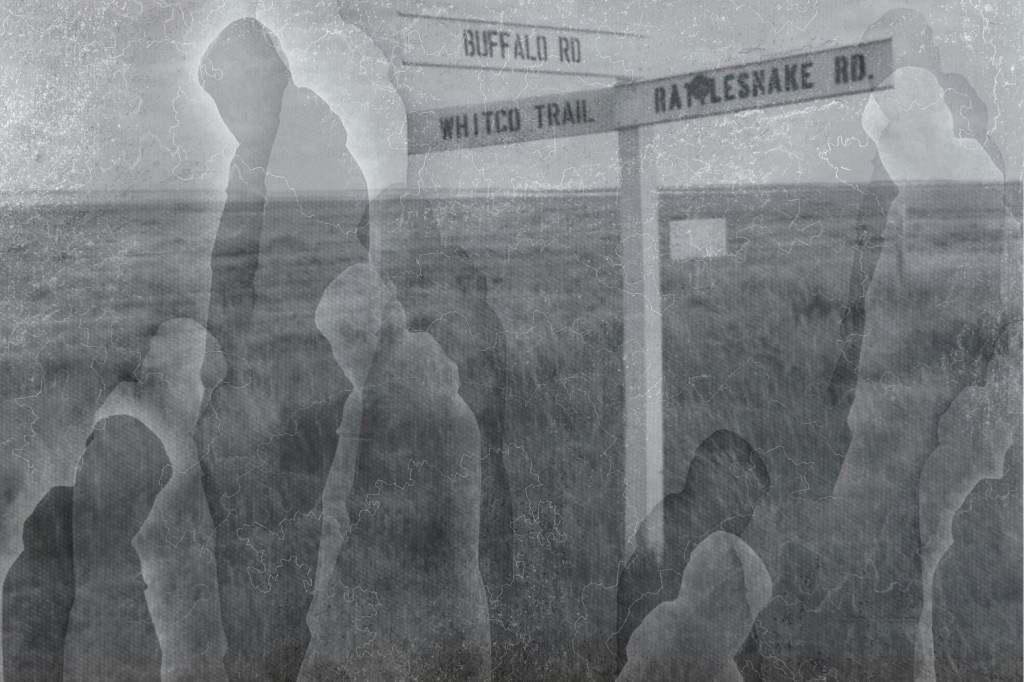
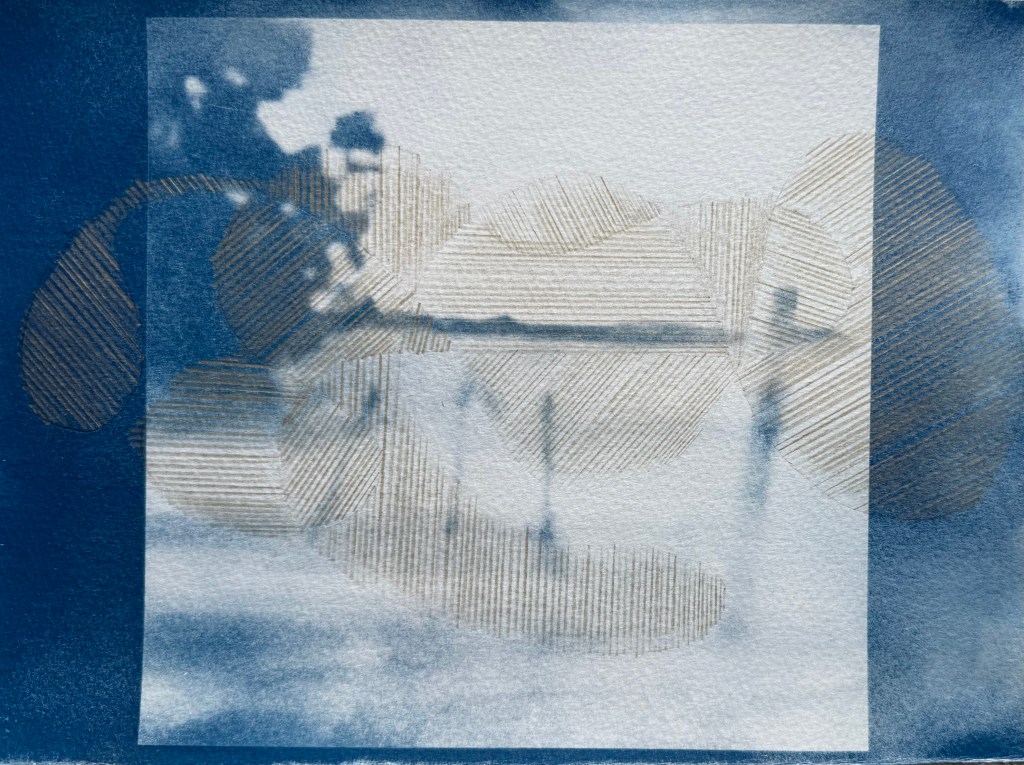
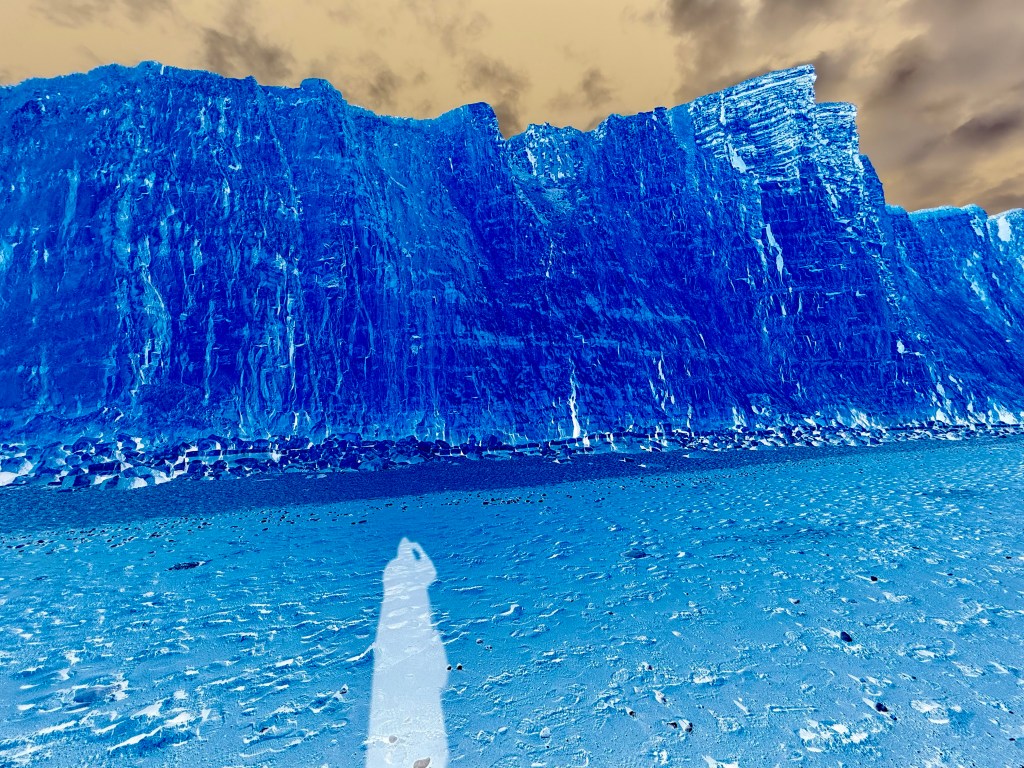
Anyway, I experimented by inverting the photo. My plan is to digitally collage some figures into it, all using a camera in some way, as I am in my shadow. Then I think that I will create a landslip in the cliffs on the right, probably using paint – I was interested in Johanna Love’s reference to Richter’s painted photographs.
After adding some figures in Procreate:
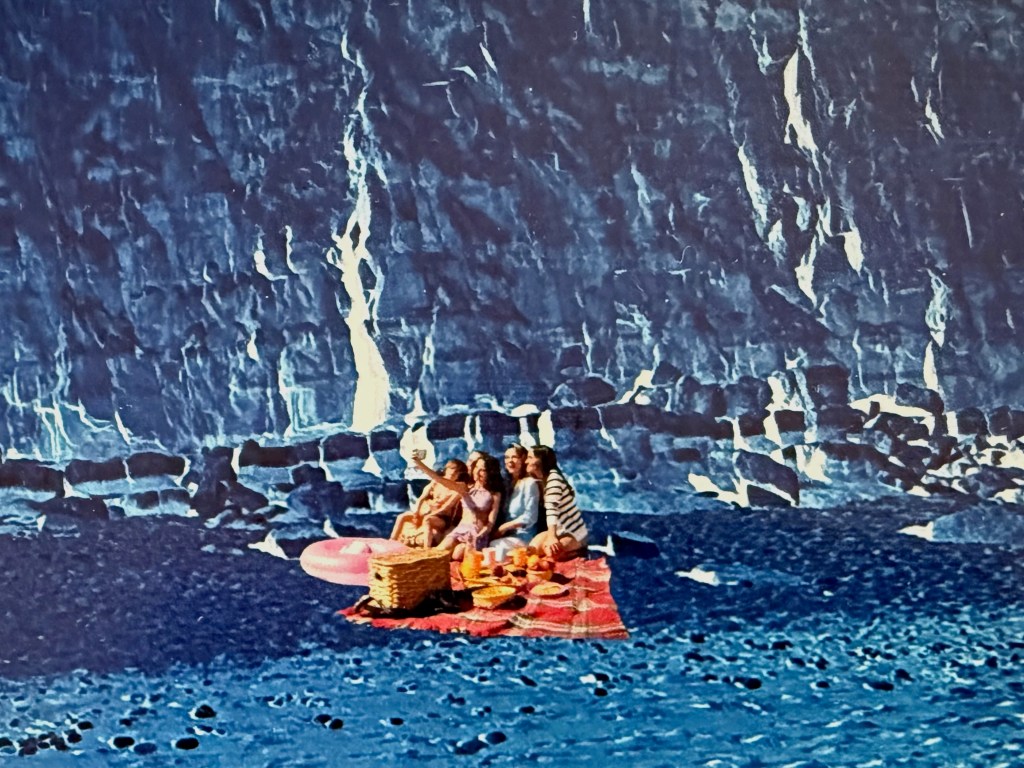
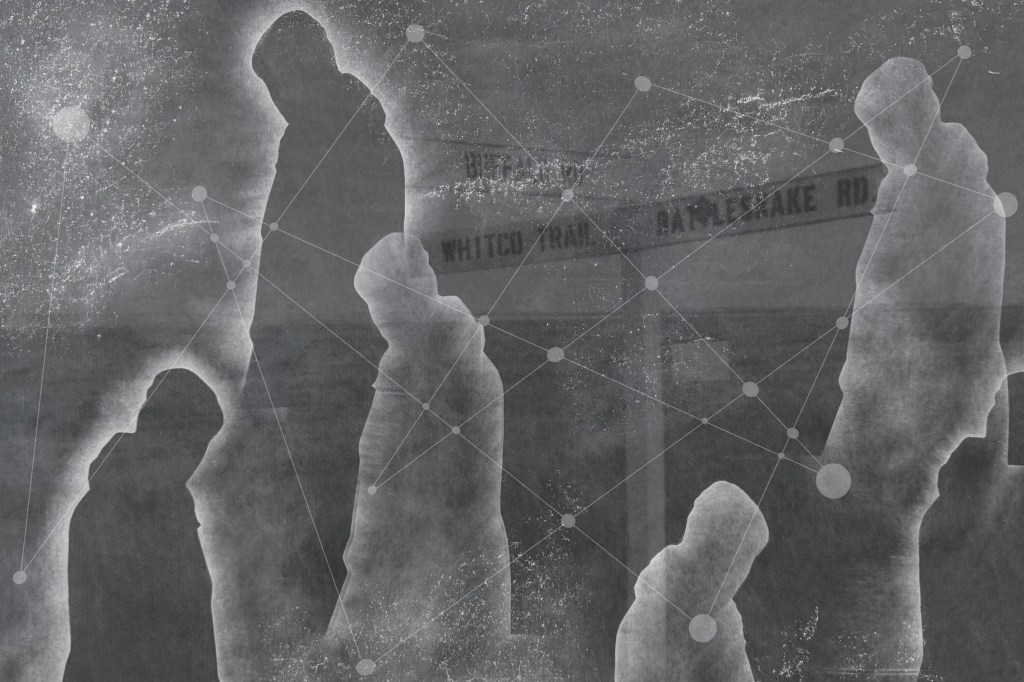
It was difficult getting the scale of the figures right and still being able to make them out, but it’s the best that I can do. Also, Procreate has desaturated the colours – from what I can tell it’s because it uses a different colour profile, but I think that I prefer the blue as it reminds me of a cyanotype. So I’ve had it printed onto satin photo paper, halfway between A3 and A2.
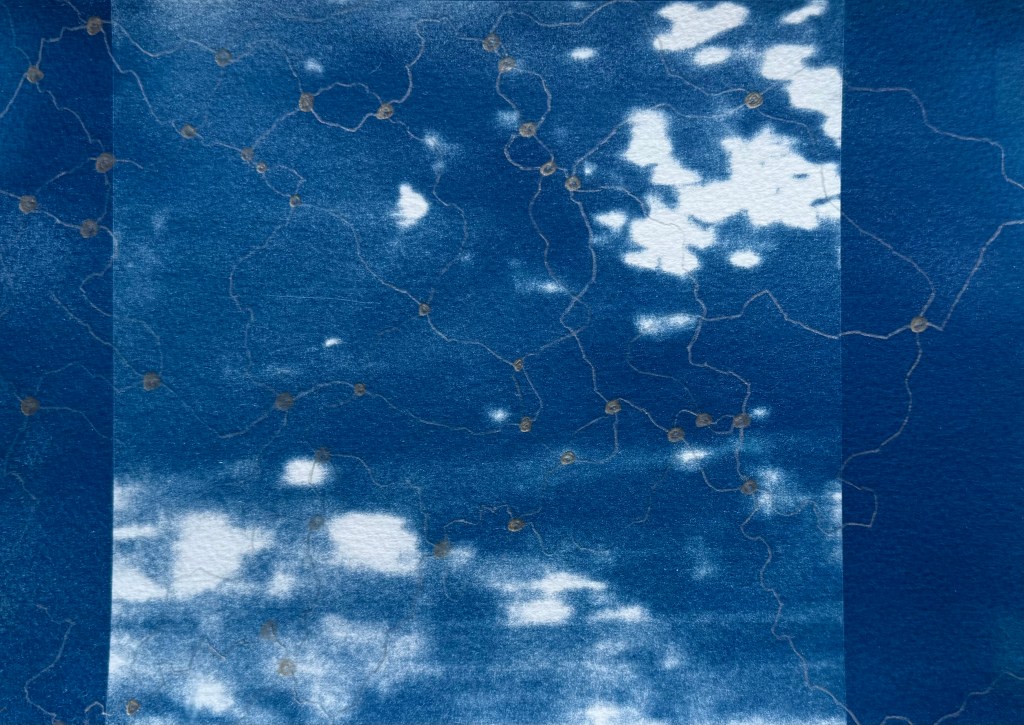
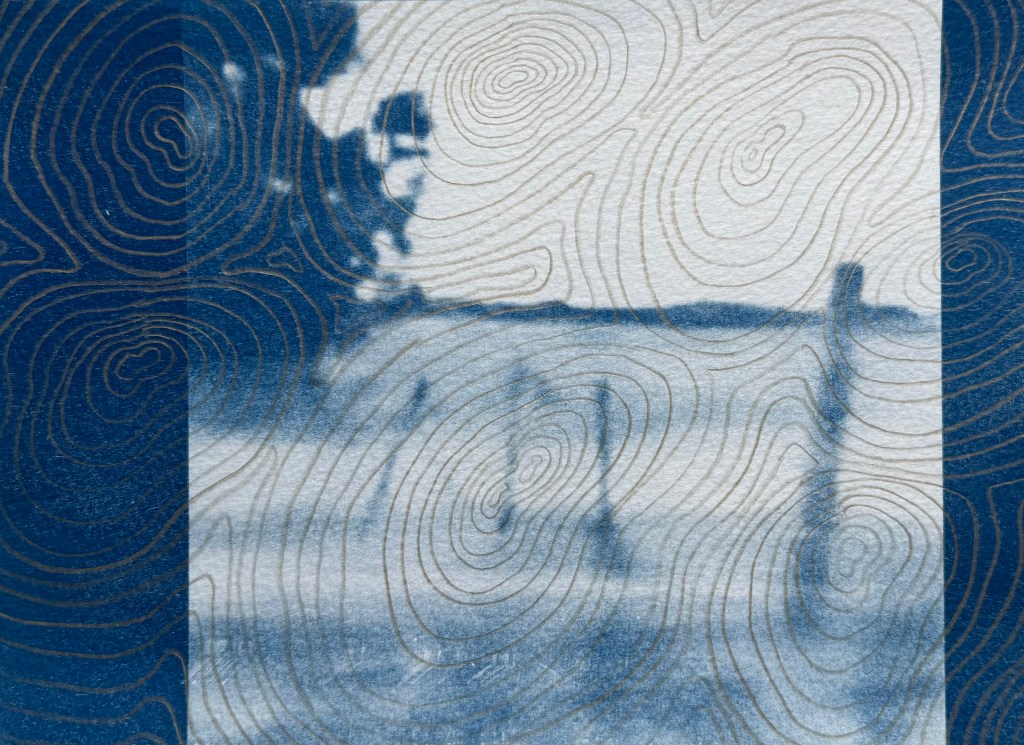
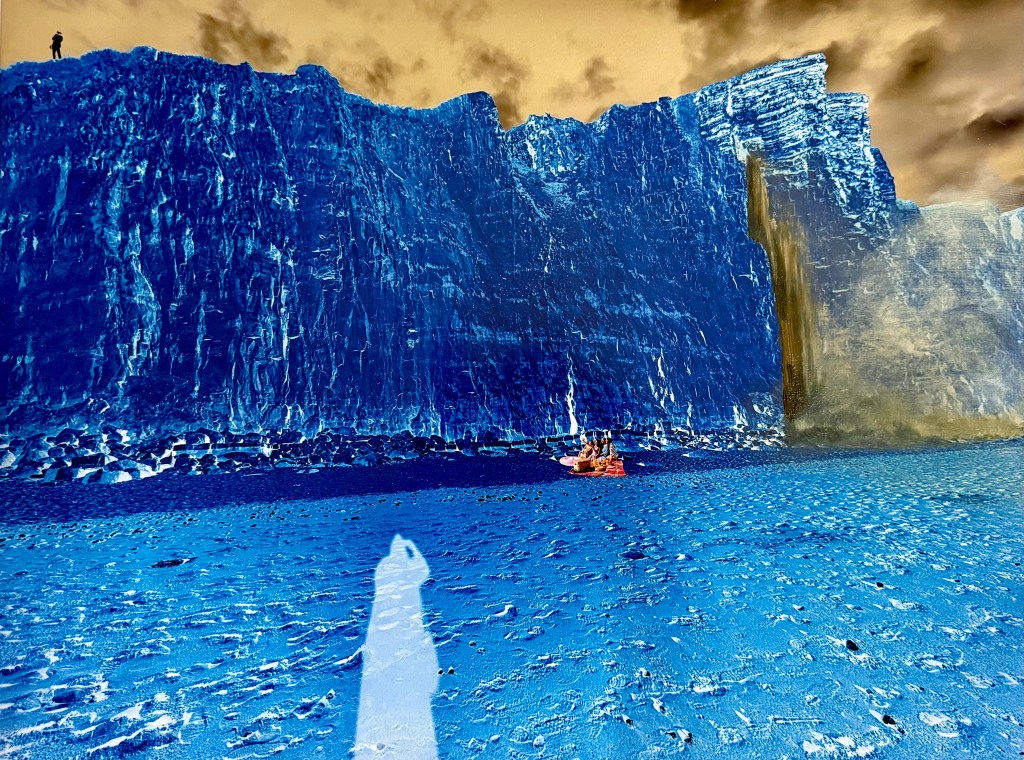
I needed to think about how the paint might behave on the photo paper. After some research I decided to spray the print with varnish to protect the ink from the next layer of gloss medium. I then painted on top.
I’m feeling ambivalent about the result.
Not much else to say really, so moving on…