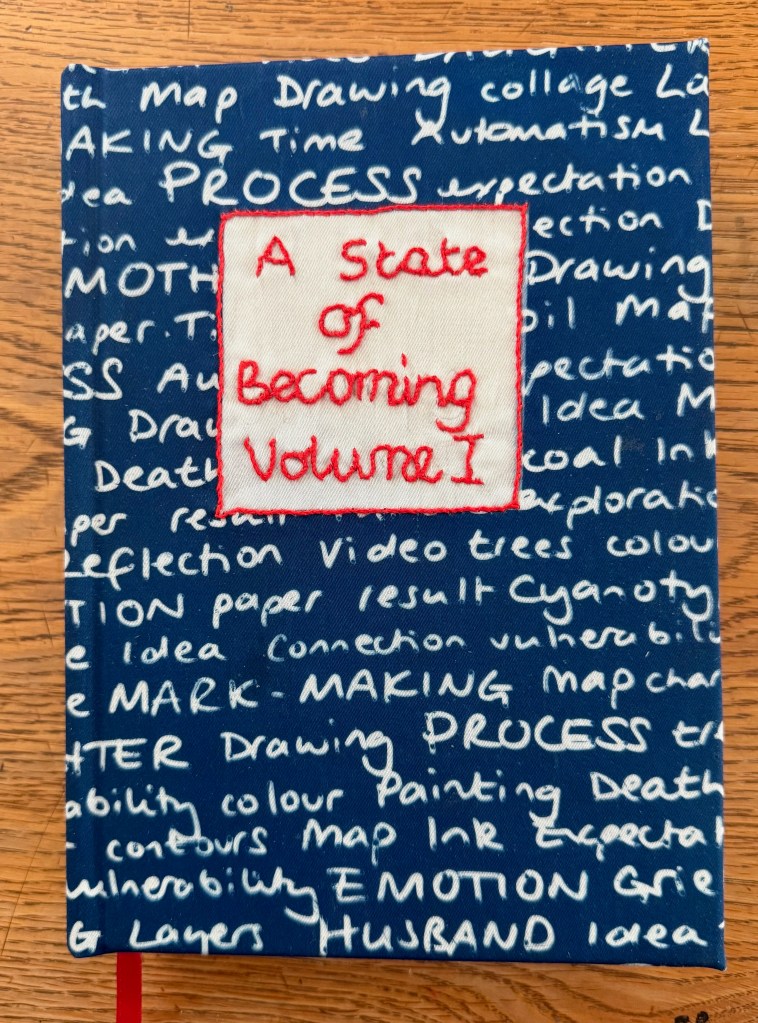
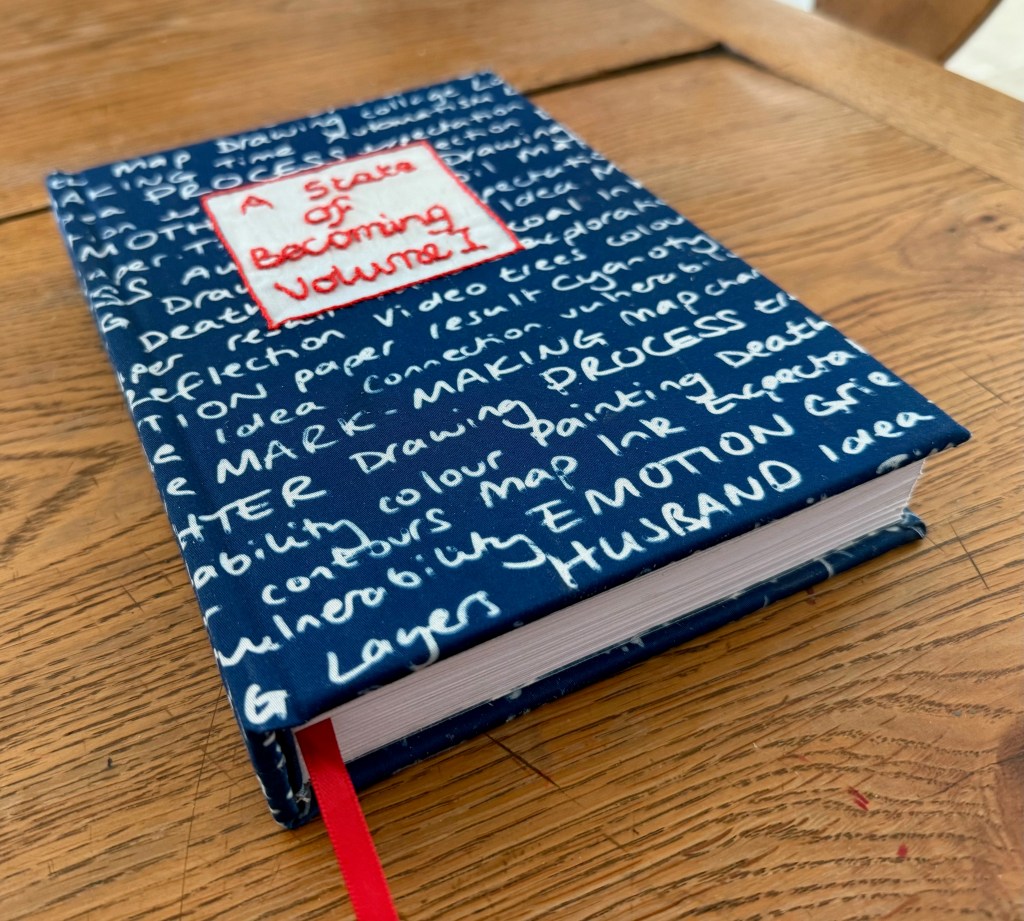
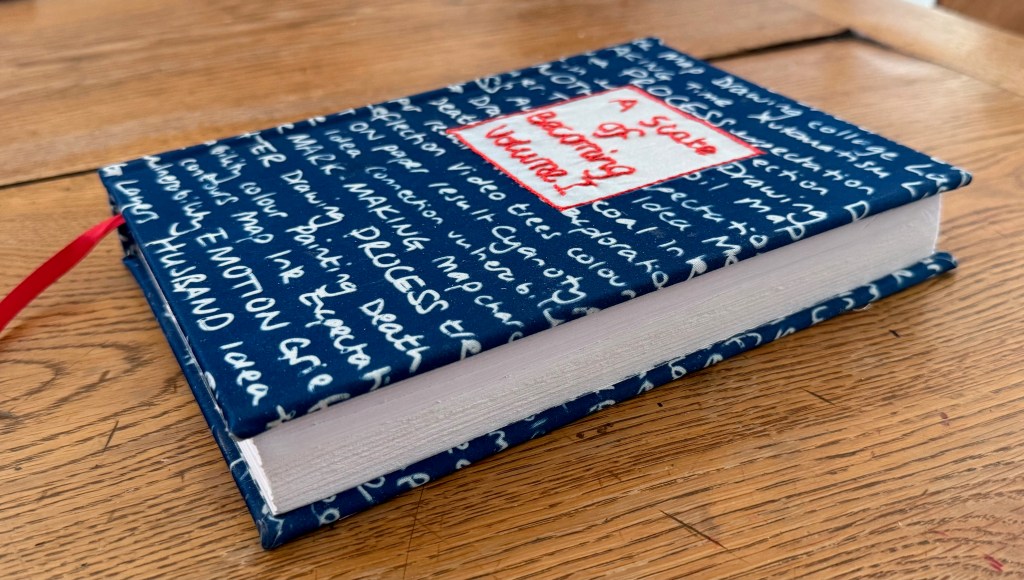
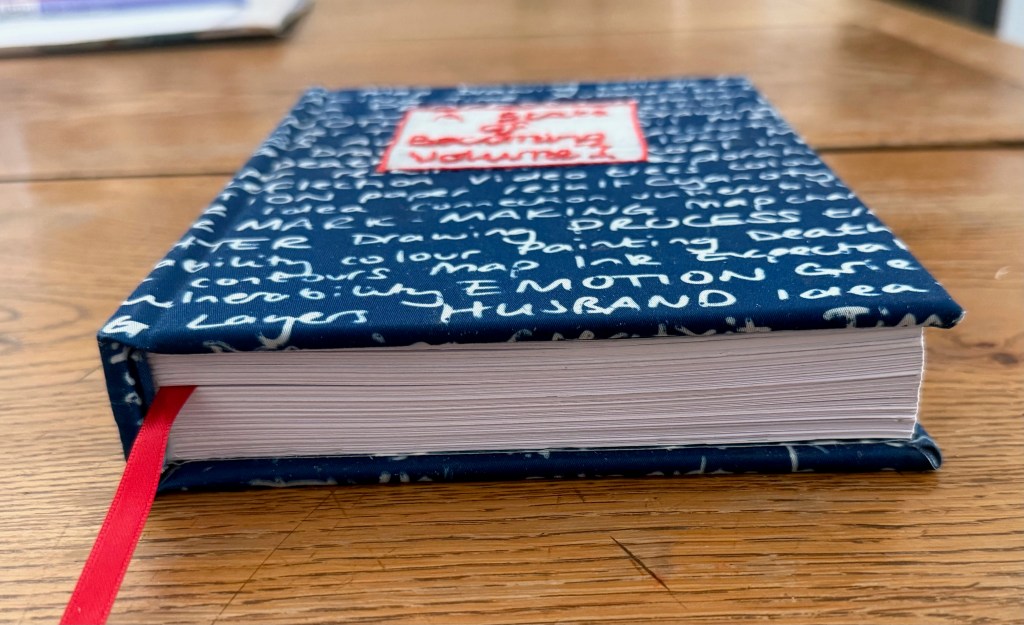
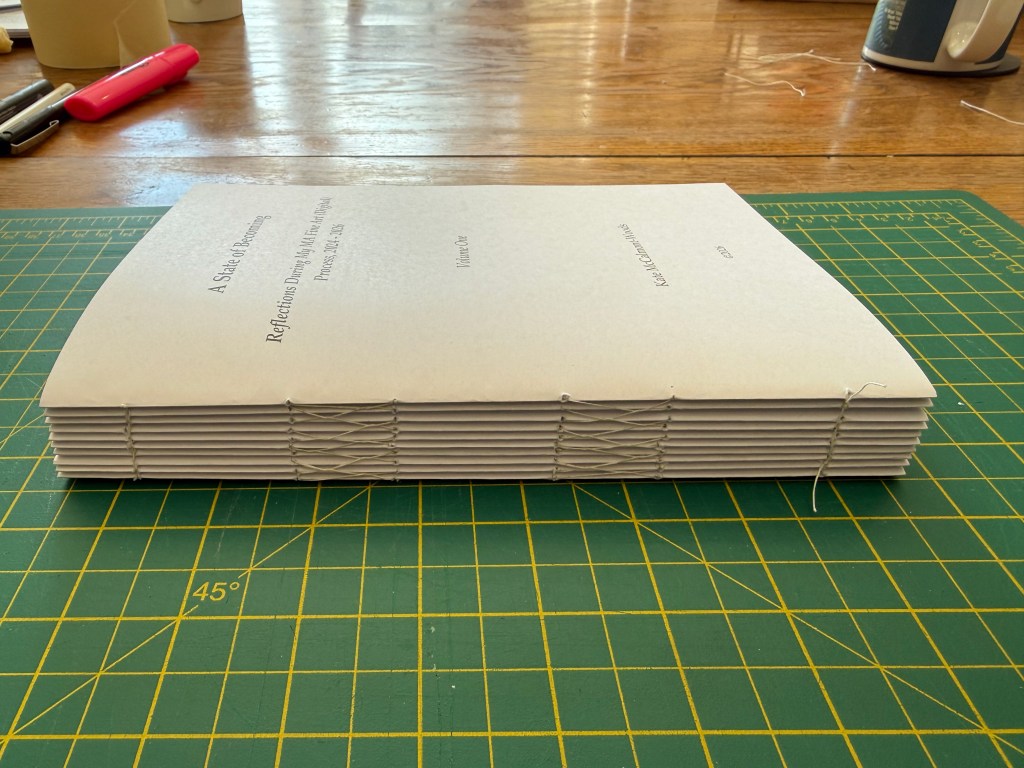
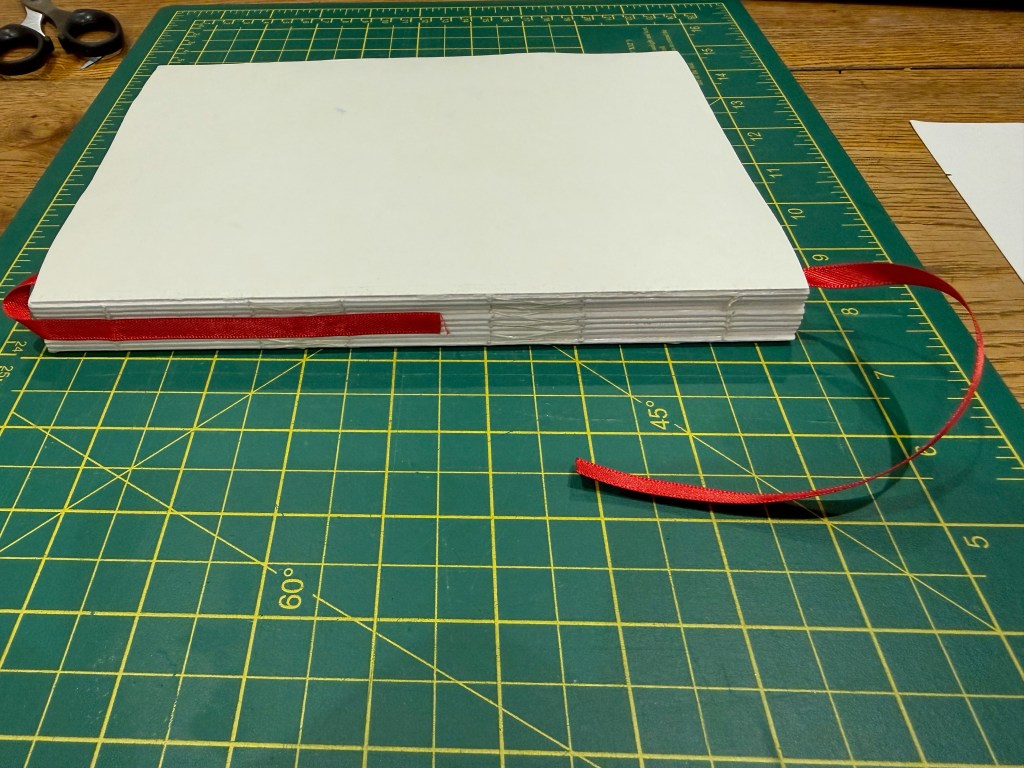
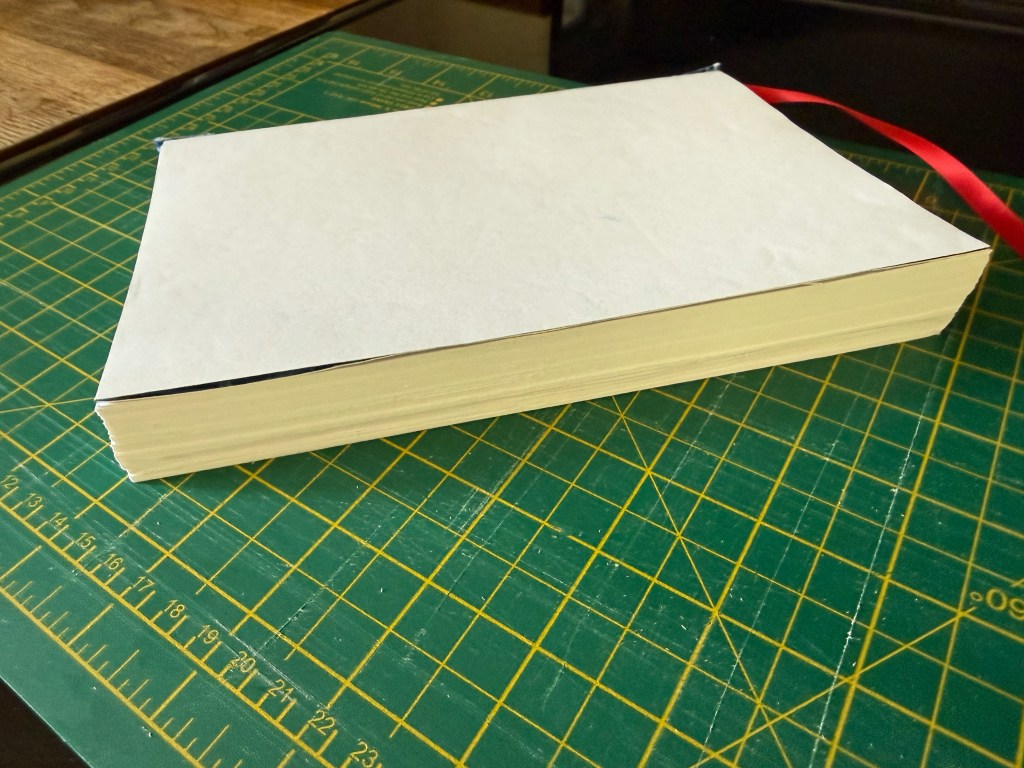
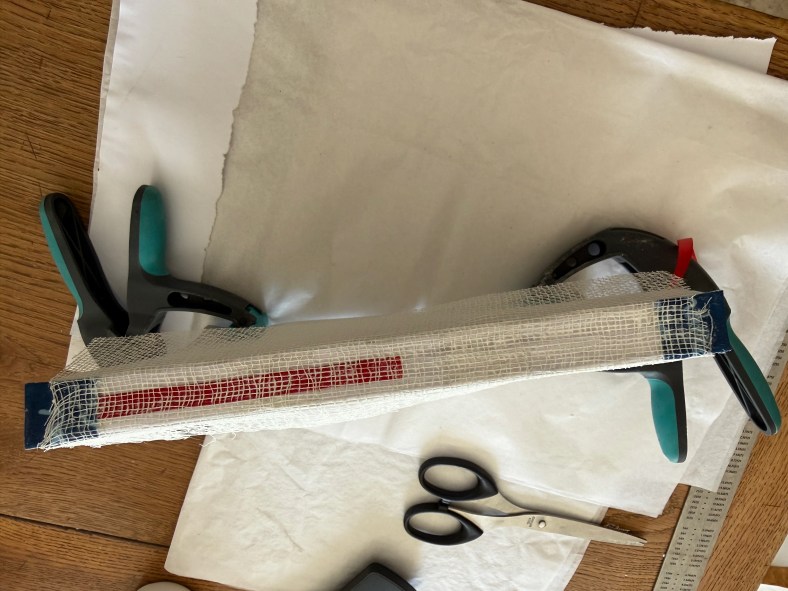
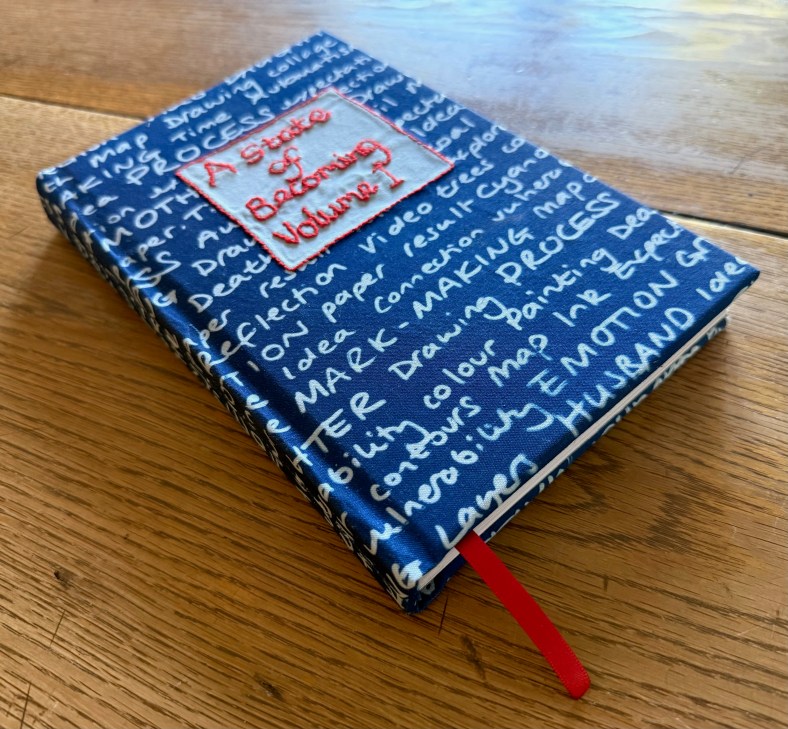
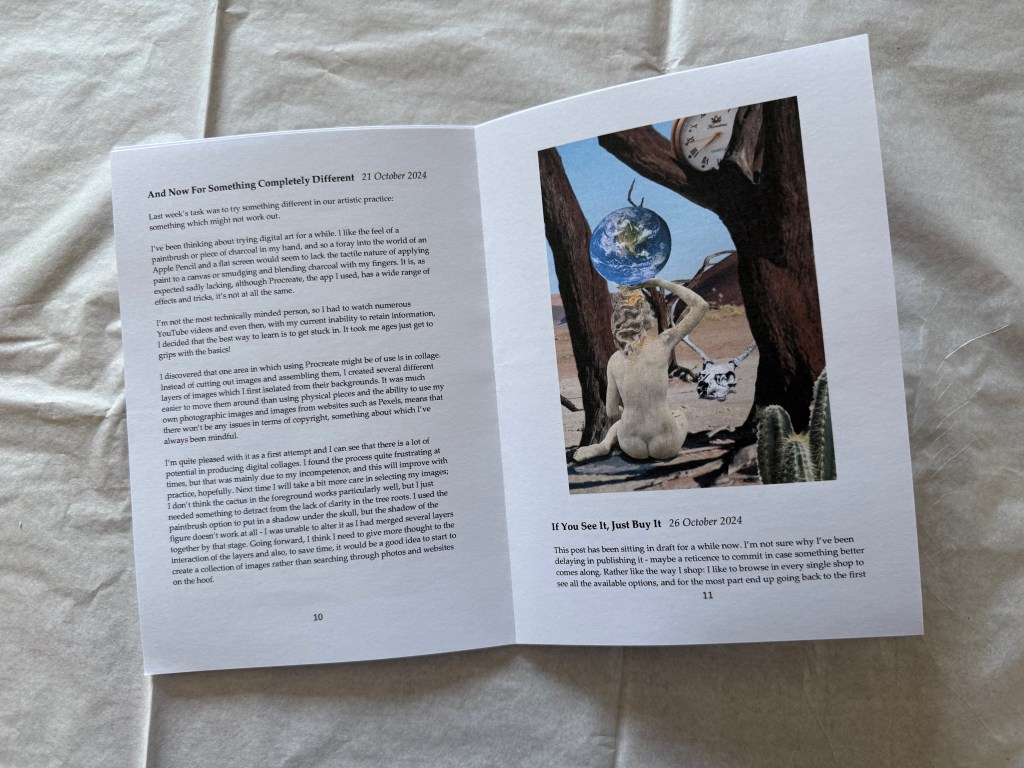
Well, I’ve finished Volume I and I’m really quite pleased with it, and relieved. A great improvement on my first attempt and no major catastrophes along the way.
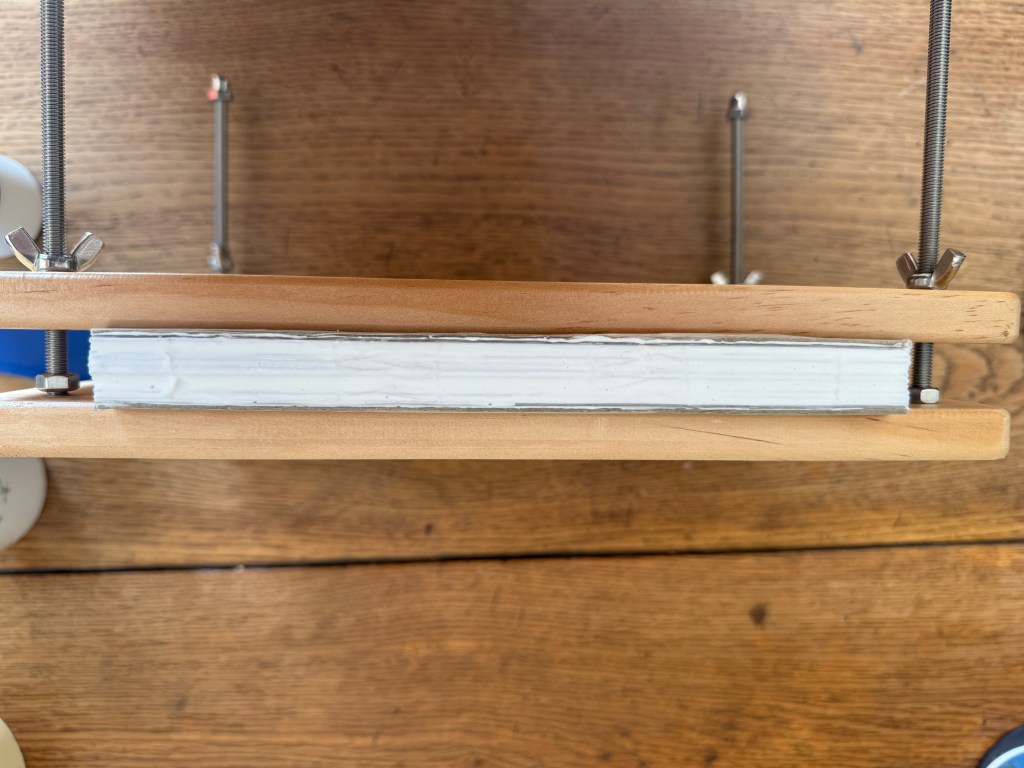
It will need to go in the bookpress overnight and then I will trim and seal the ribbon.
I’d be lying if I said that I don’t get moments of anxiety about the End of Year Show and what I will be showing. After all, the plan is not to have a plan, as I’m treating it as a snapshot and the continuation of my becoming, as opposed to the big finale, the culmination of something. But it’s very difficult when all around me are so far advanced in their own work and I also need to give an idea of what I will be showing from a space planning and curation perspective.
At the very least I will have the book – it was ok to have that as a plan as it seems the most natural thing for me to do, it is something that can continue to develop because it is made up of volumes and also the process of making it has been one of learning and development. After my trial run I decided that I need to have some sense of progress and that I would crack on with the second volume before returning to remake the first. So, I’ve made the book cloth that will be used for the cover and the end papers. I’m currently halfway through formatting the blog – the resizing of all the images to a higher resolution suitable for printing and the creation of QR codes for the videos takes up a lot of time. Hopefully I will have finished it sometime this week and so can get on with making both volumes.
I’ve been thinking about my conversation with Jonathan as to how to display it. I want people to pick it up and have a read of it but at the same time treat it with care. Placing a pair of white gloves like those used by archivists next to the books would indicate that care should be taken – I don’t necessarily intend for people to actually use them and I’m sure that there will be some who would be reluctant to anyway. Hopefully, there will be three volumes, so the idea of two being arranged on a shelf and the third being placed on a separate surface, open and an invitation to be read is a good one, but it is also open to being seen as being on display, something to be looked at, not touched and read. So, I’ve gone with Jonathan’s idea of a student table chair/ conference chair as a possible option. I’ve sourced one – it has a fixed writing tablet so nothing has to be moved or flipped up for the reader to be able to sit down.
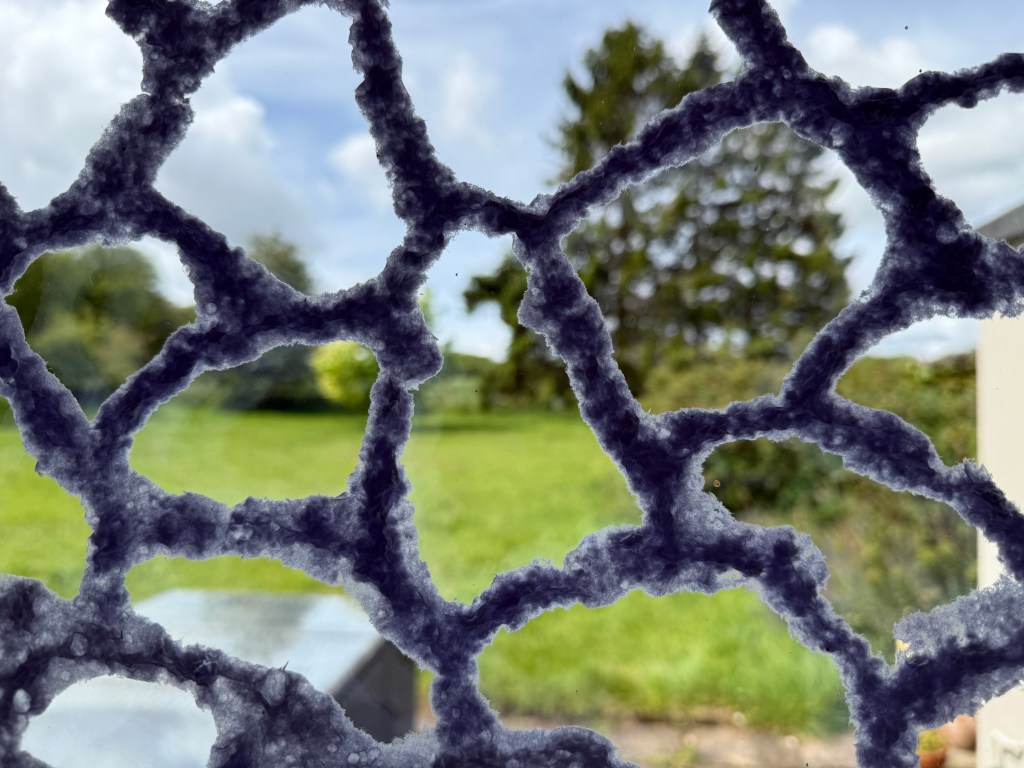
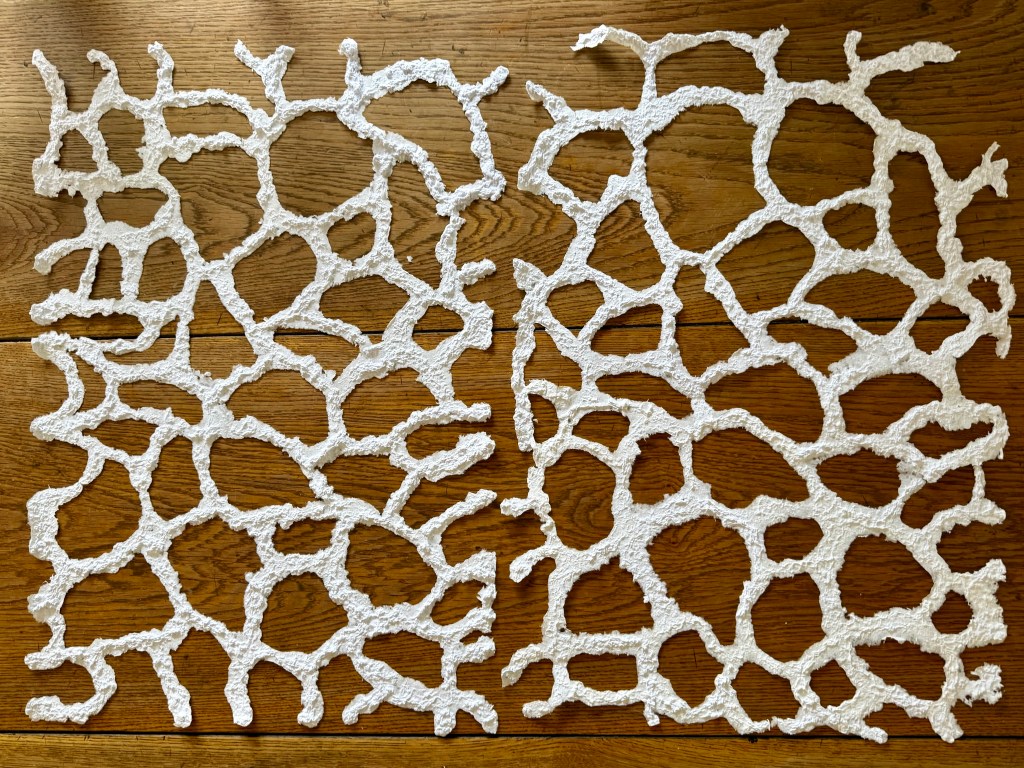
I’m also intrigued by Jonathan’s idea of using a video screen as a table and placing the book on that, as well as his comment about watching videos through layers. I had in the back of my mind that I would probably make a layered piece rather like the one in Layering. I tried experimenting with the burnt mulberry paper just to get a feel. I also used some mulberry paper that I had cyanotyped on and decided to burn holes in that to see how a patterned layer would work – a health and safety risk assessment beforehand probably would have alerted me to the risk that paper that had been chemically treated would probably burn quite enthusiastically – let’s just say that it was a bit quicker and harder to blow out than the plain paper. I put the paper on top of an acrylic sheet for the purposes of this exercise and so at times you can see my reflection.
I’m going to have a look at making some new videos and perhaps re-editing some of the existing ones, taking on board all the really helpful suggestions Jonathan made in my tutorial. I’ll keep playing around with layers and see where it takes me.
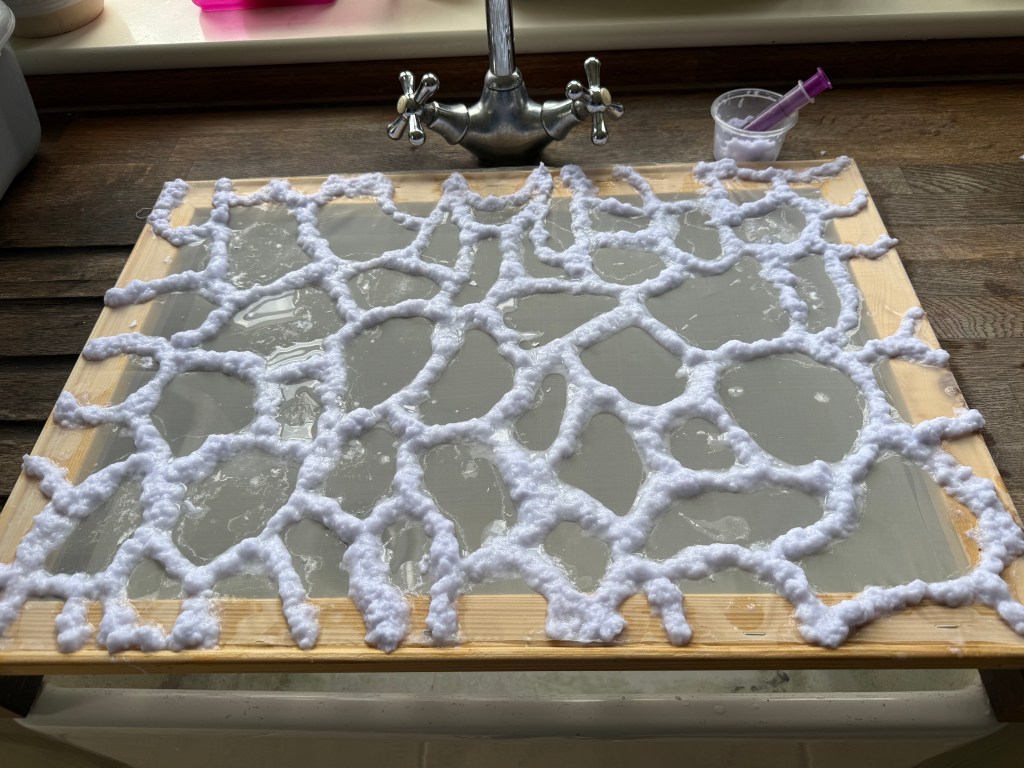
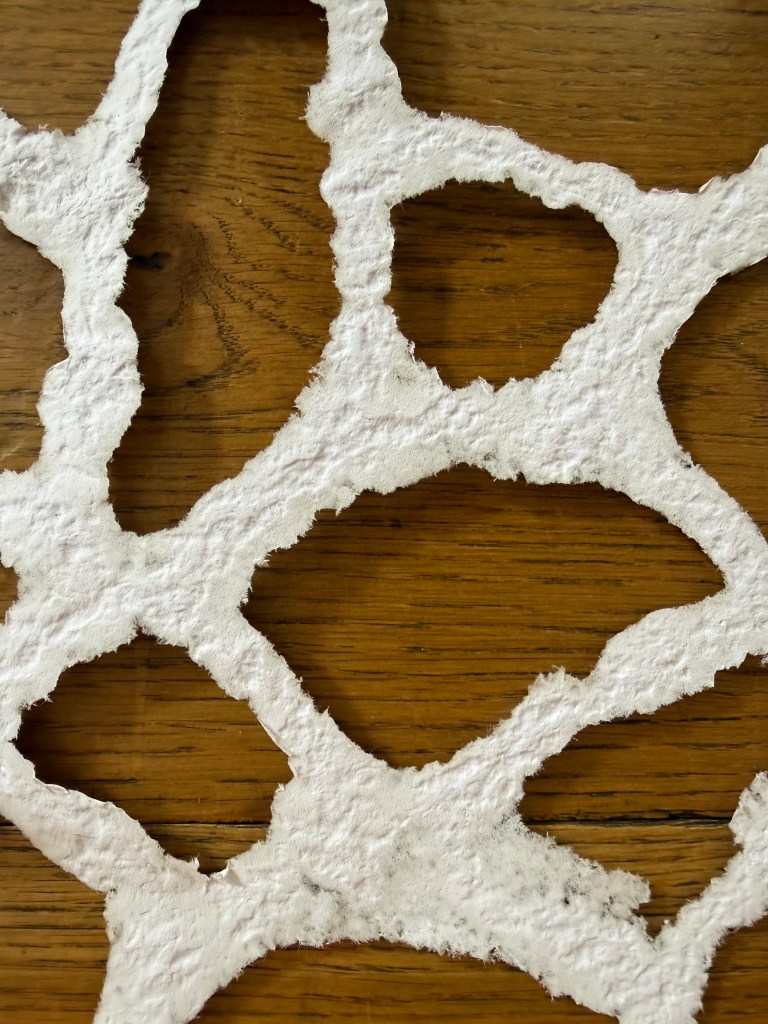
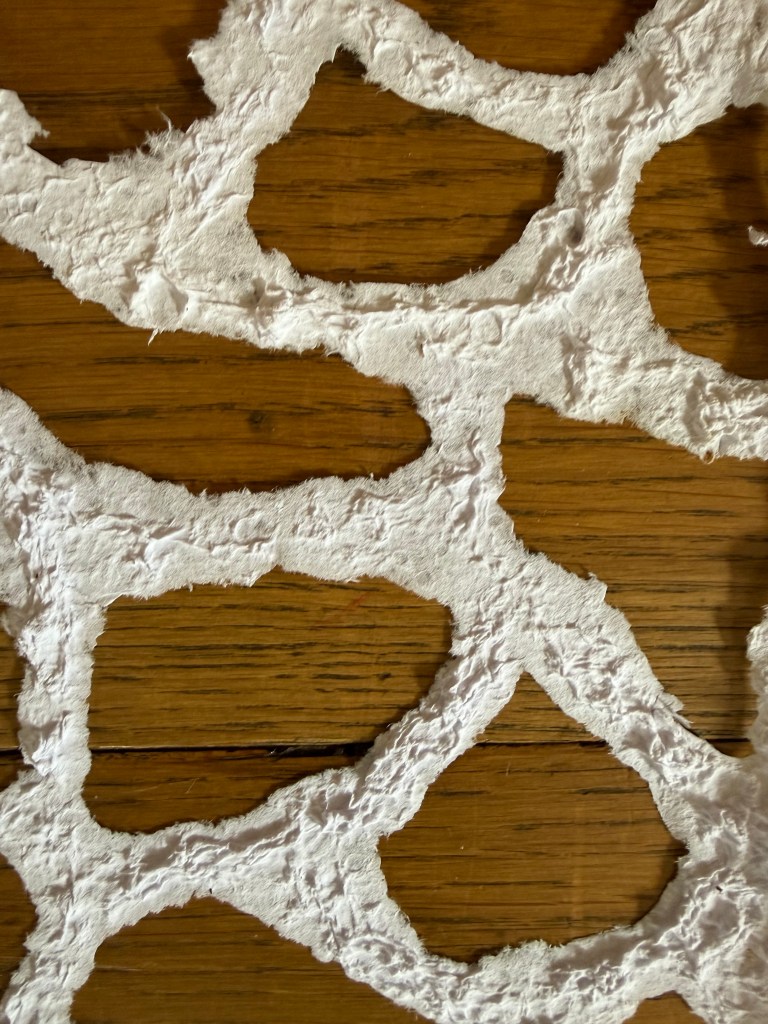
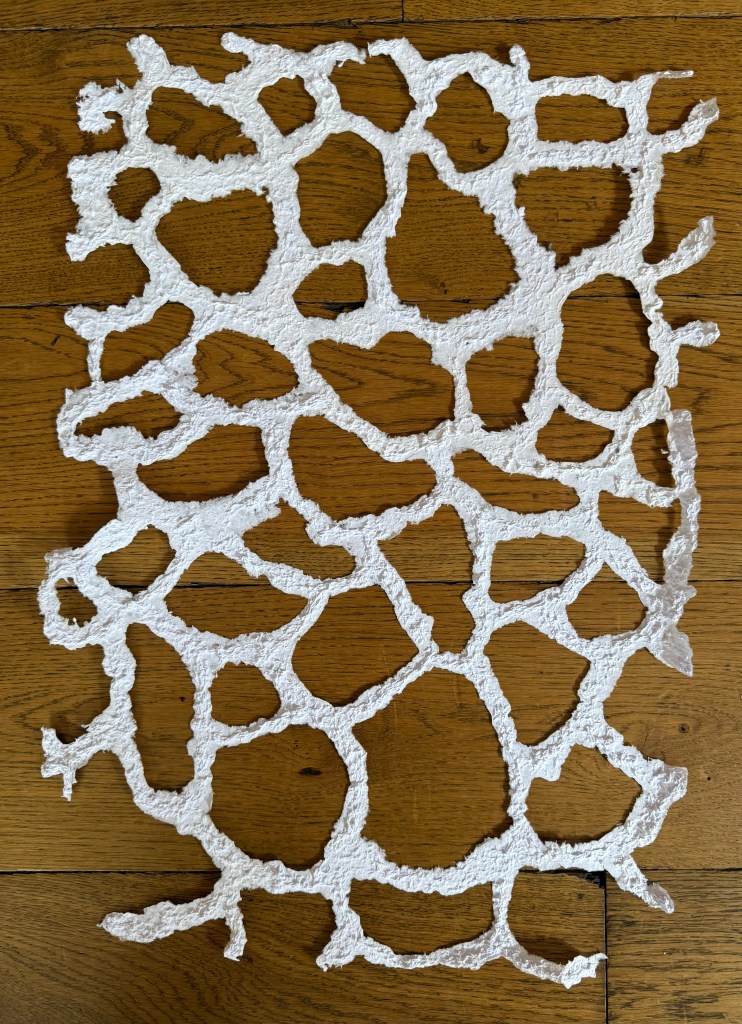
I also want to try working at a larger scale. I’m still thinking about microchimerism and the piece with the three foetal forms (The Accidental and the Incidental). I still can’t believe how randomly drawing a shape resulted in a form which I now see as having such a strong identity. I could use some of the processes that I have been experimenting with, such as bubbles and ink. I really enjoyed making the paper using the syringe ( Layers) – it feels organic and biological and maybe I could incorporate it in some way into a larger piece or even a layered piece. I can only make it in A2 but I think that I could easily attach sheets together to make a larger sheet. The only question is how I would transport it, but I think that once it’s dry it is quite flexible and more robust than it looks although it would probably be better to take in sheets and then join it together in situ using paper pulp which would have enough time to try over the install period. Failing that there’s always PVA glue.
I’m feeling positive and excited that I have a loose idea – some soft structure – let’s see where it takes me.
I haven’t made a book before. I’ve watched a couple of YouTube videos. I told myself not to have any expectations.
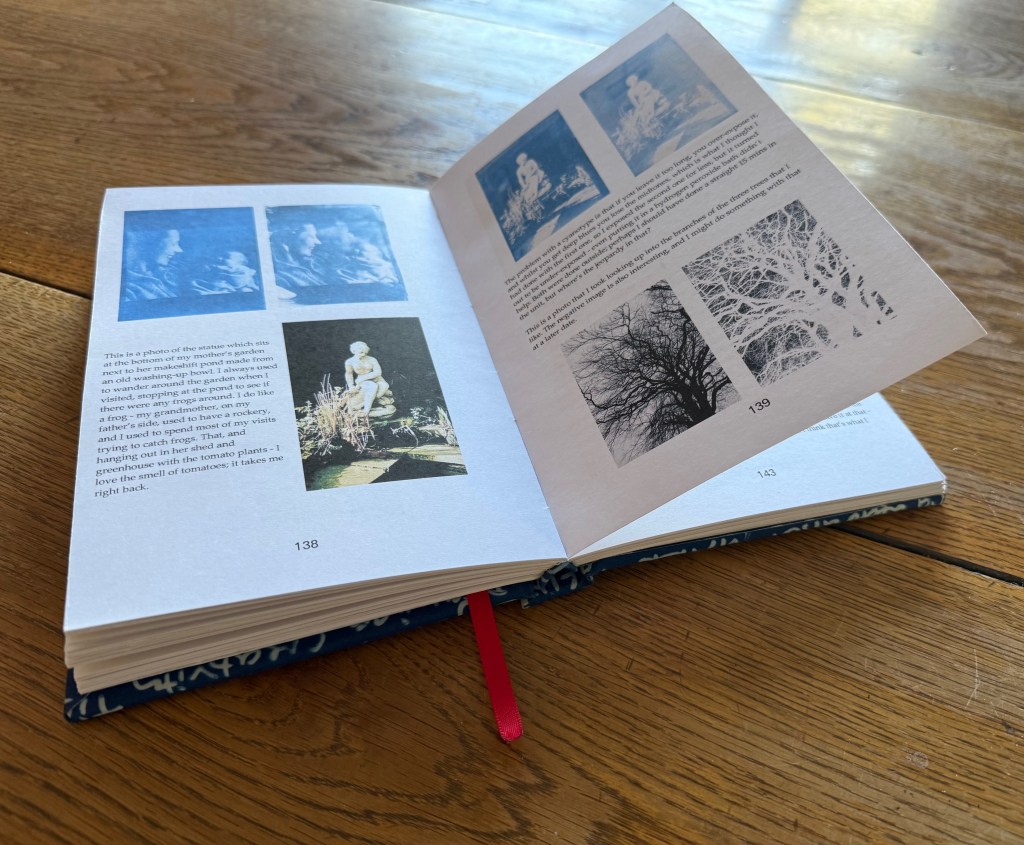
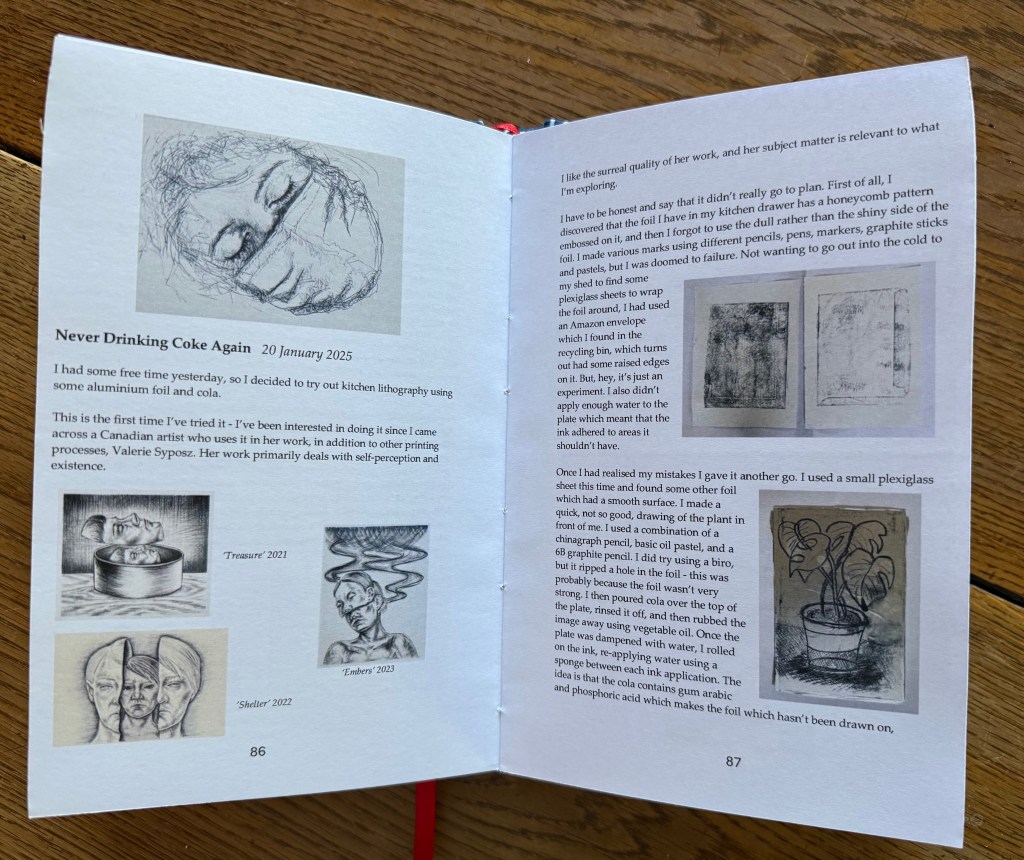
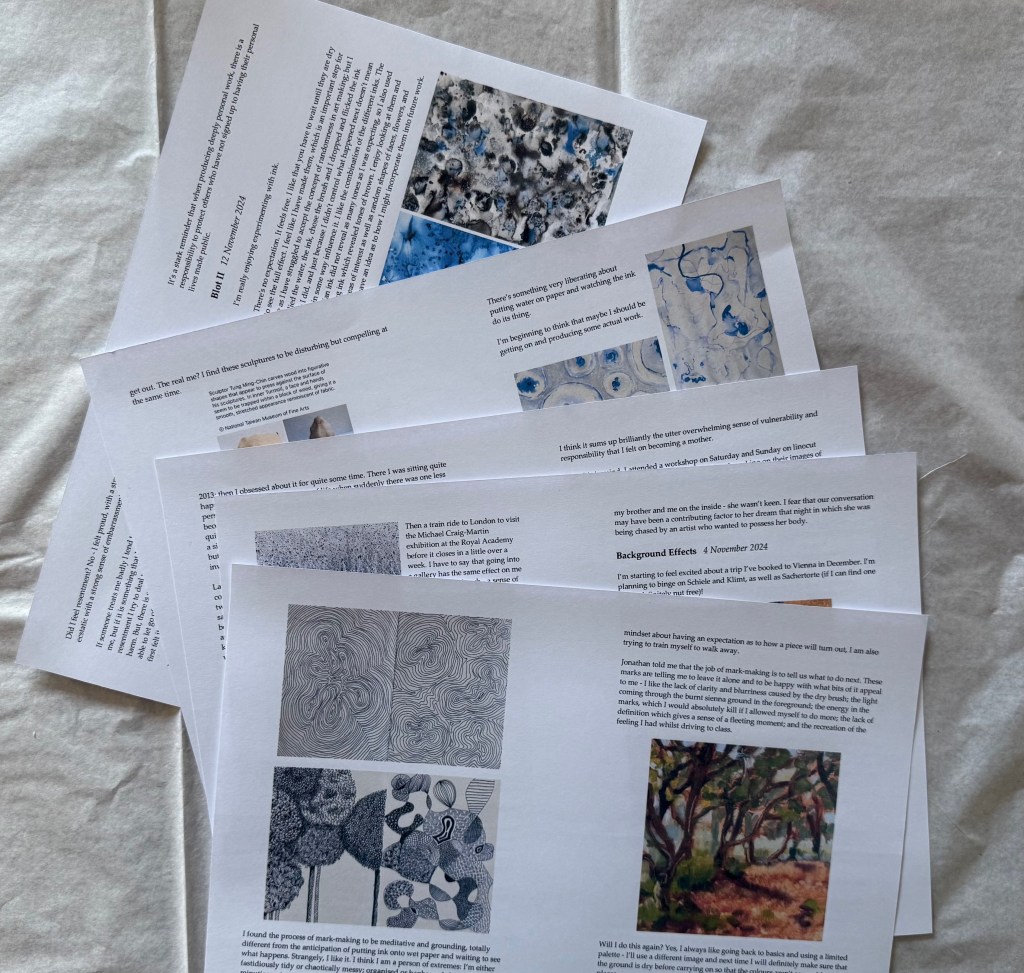
I copy and pasted my blog posts into Word booklets. Each booklet is 5 A4 sheets which is 10 sides and therefore 20 A5 pages amounting to 1 signature. The book will have 10 signatures (totalling 200 pages) and already I know that there will be more than one volume.
It was a laborious task of formatting, copying and resizing the images and creating QR codes for the videos.
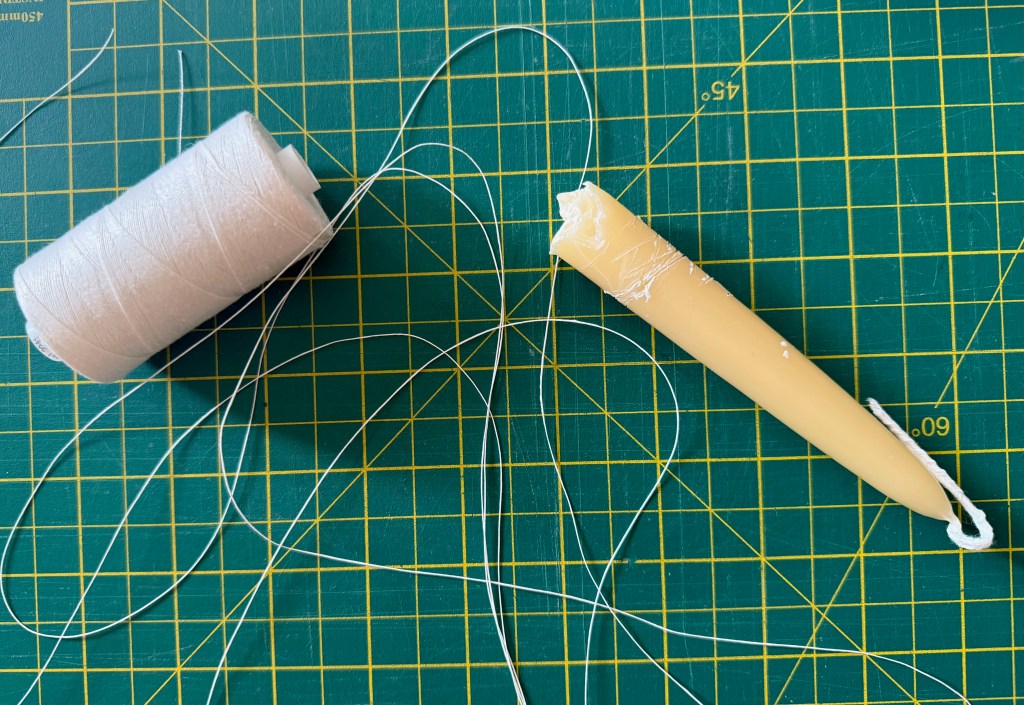
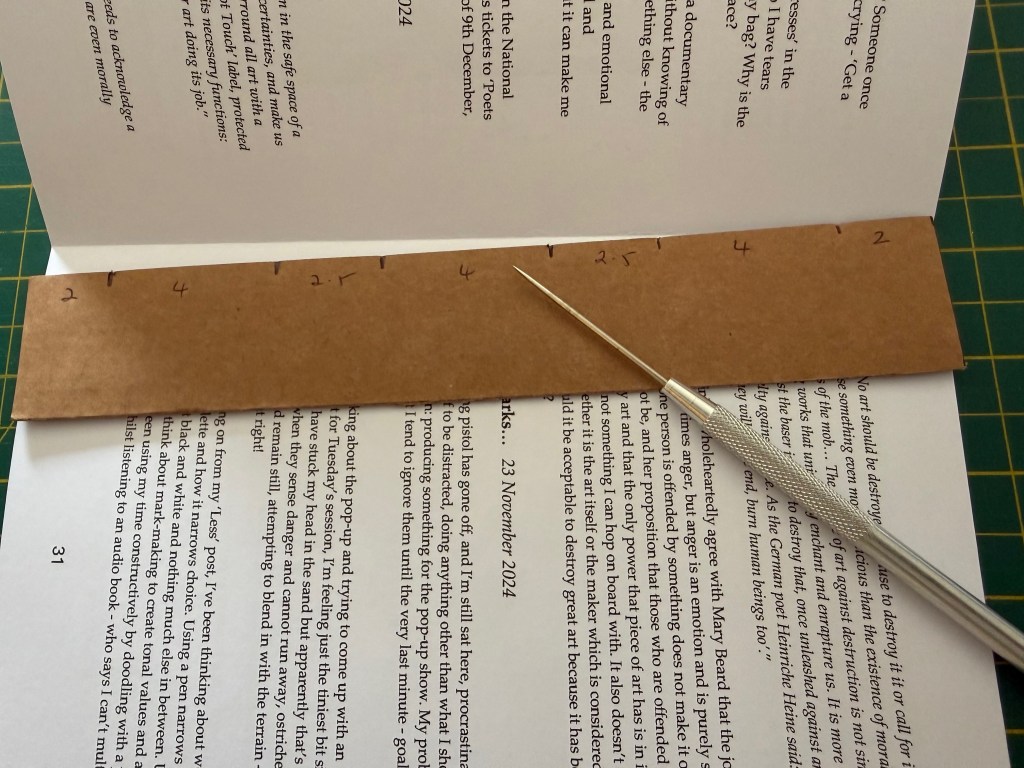
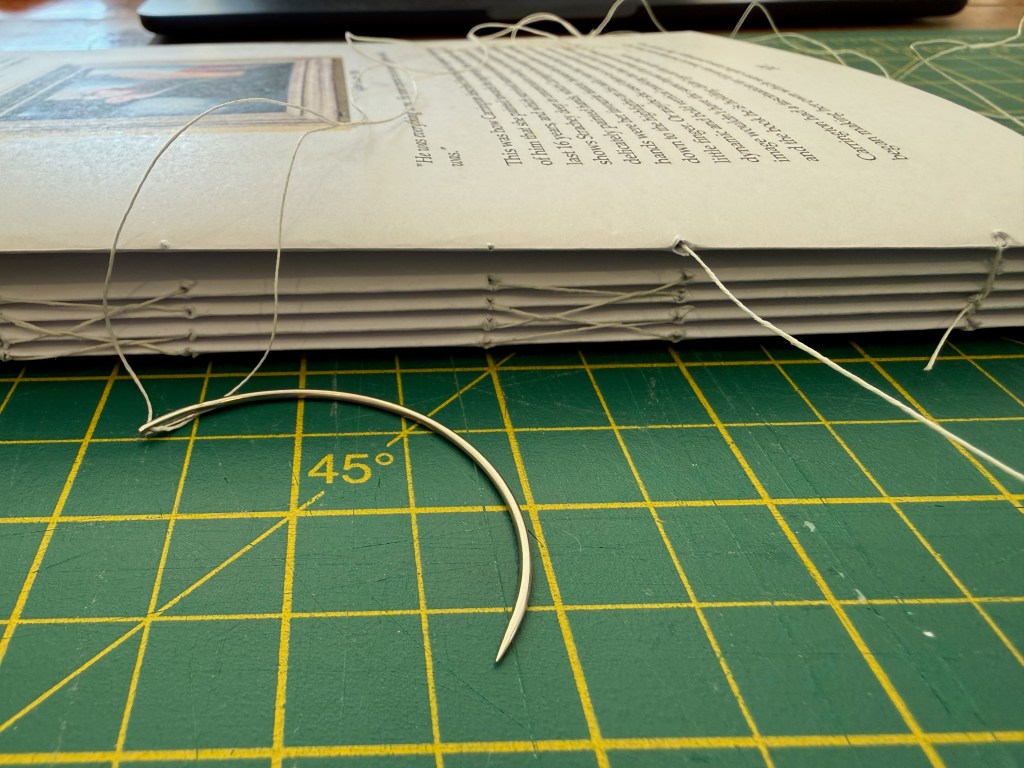
Having printed each of the signatures and folded them, I set about sewing them together using linen thread, which I waxed using a beeswax candle, and an upholstery needle. The wax helps prevent the thread from fraying and tangling. First, I had to use an awl to puncture the holes.
Then I applied two layers of archival PVA glue to the spine and attached the ribbon.
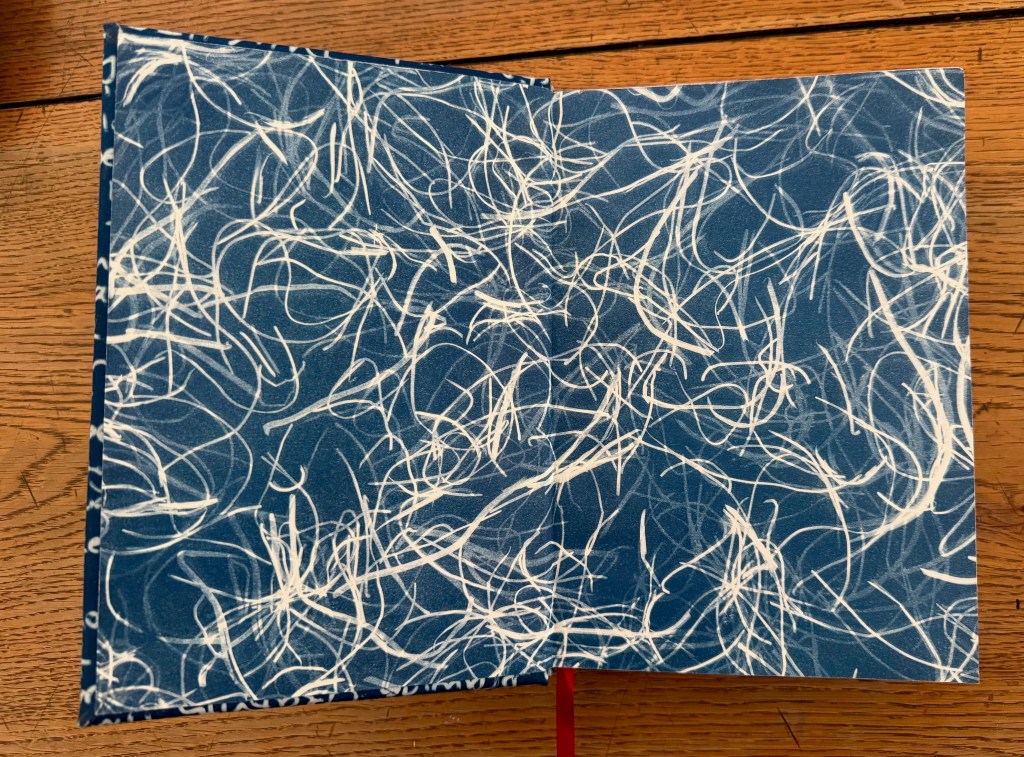
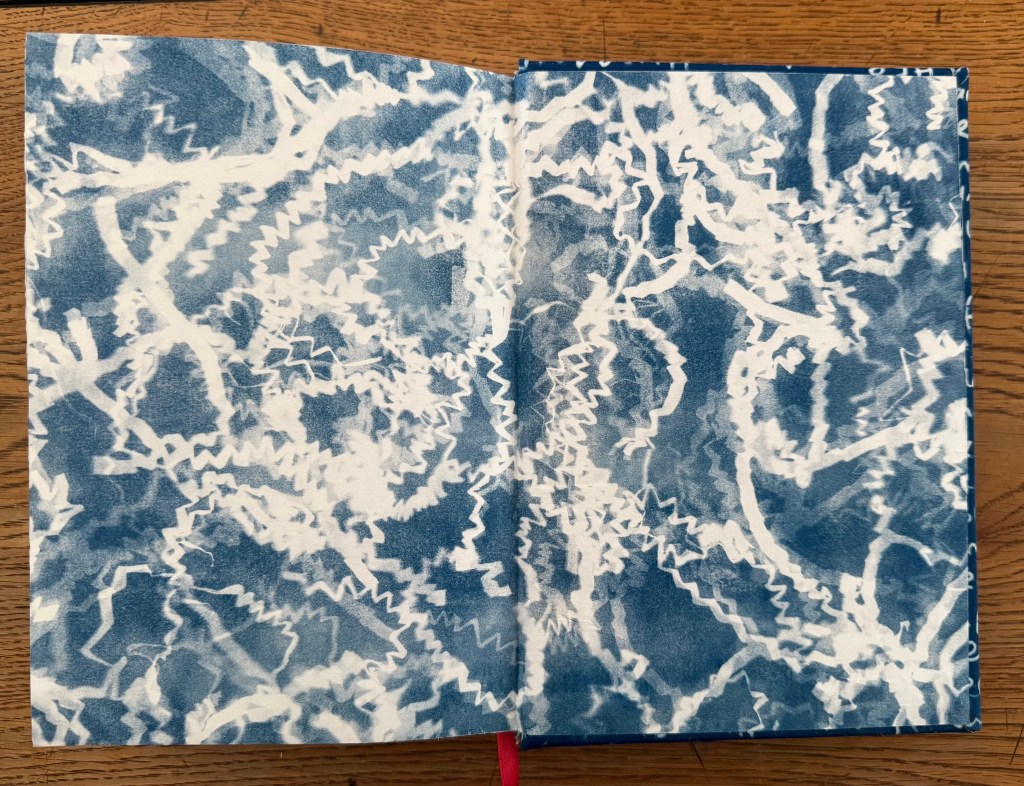
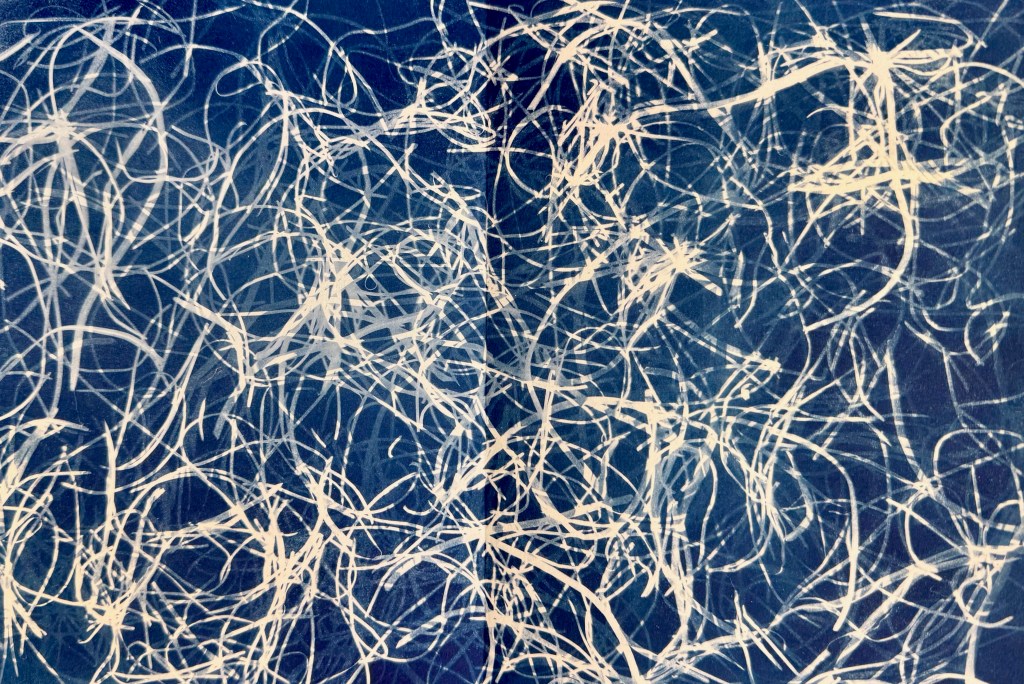
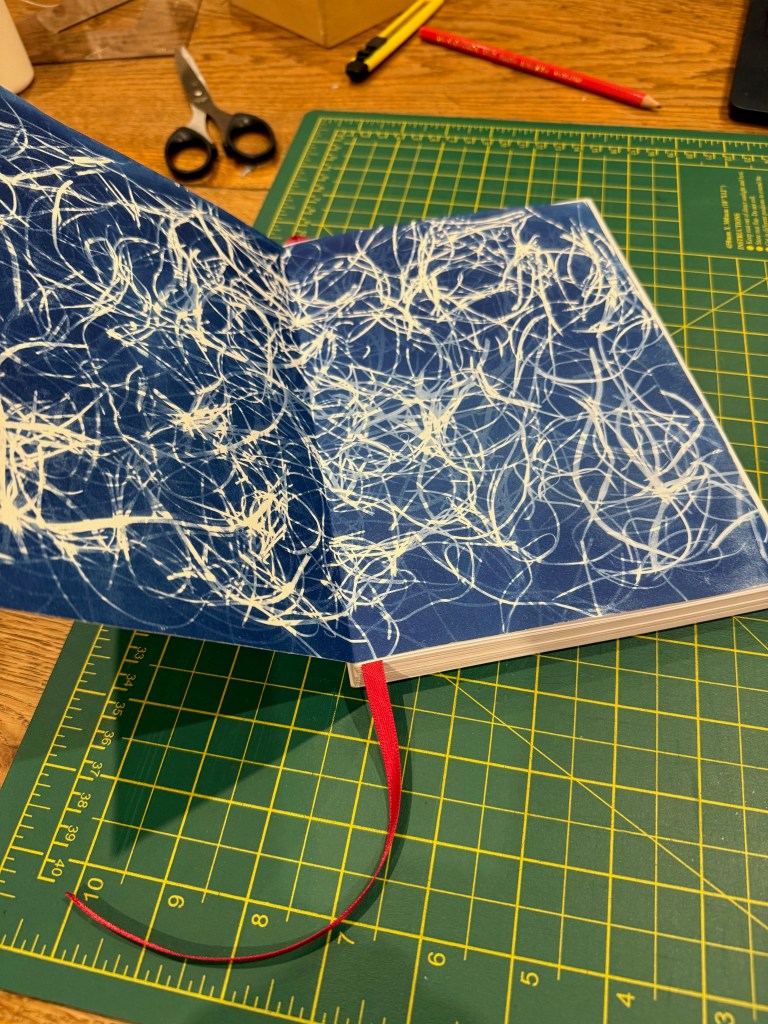
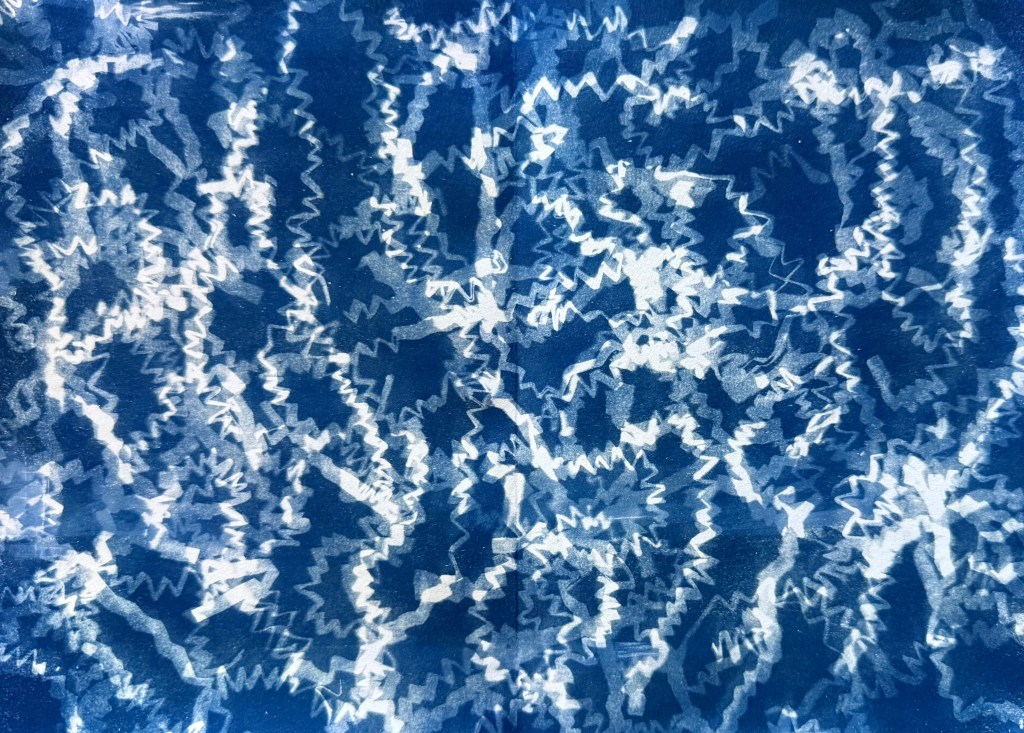
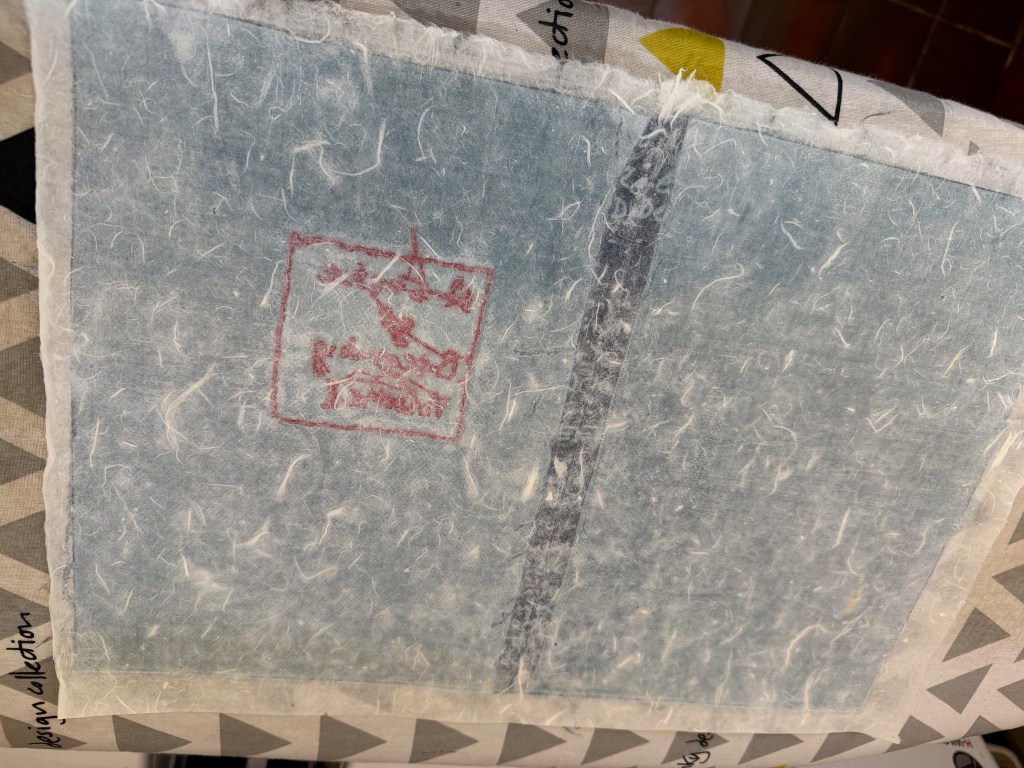
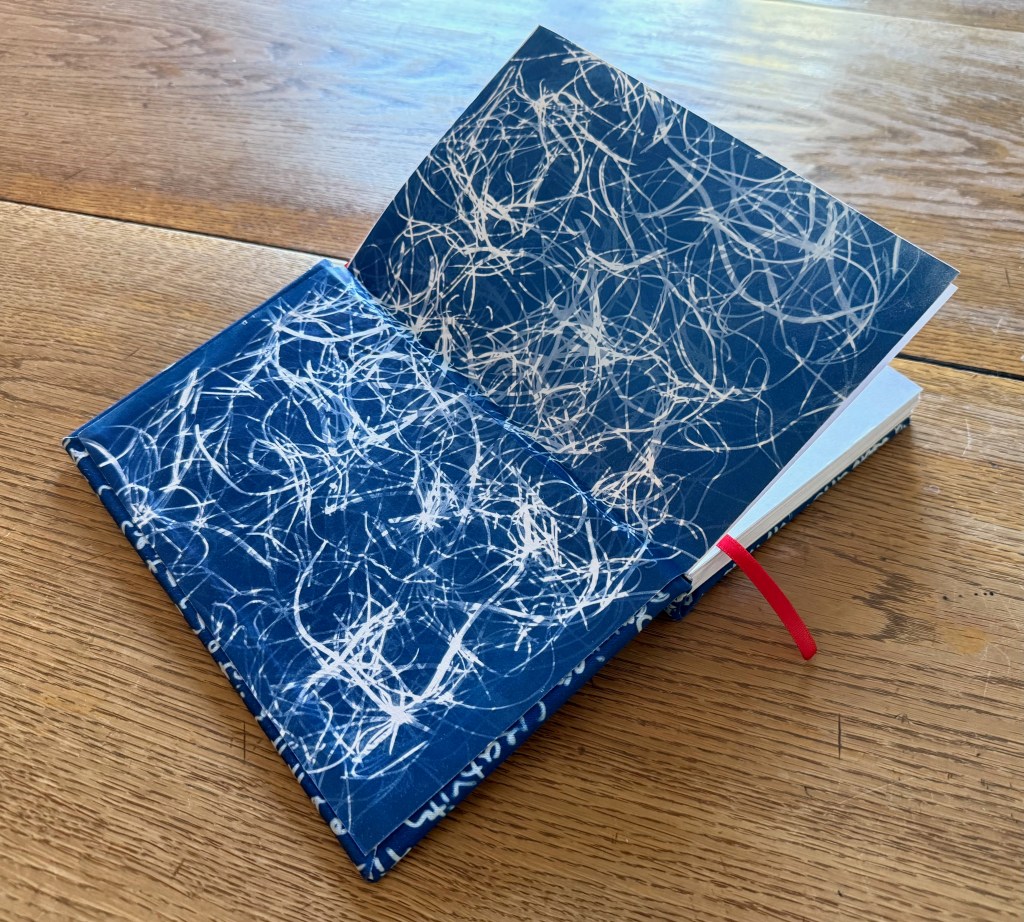
Next I had to attach the end papers. I decided to use a couple of cyanotype prints that I had made using the lino cuttings and the shredded cardboard.
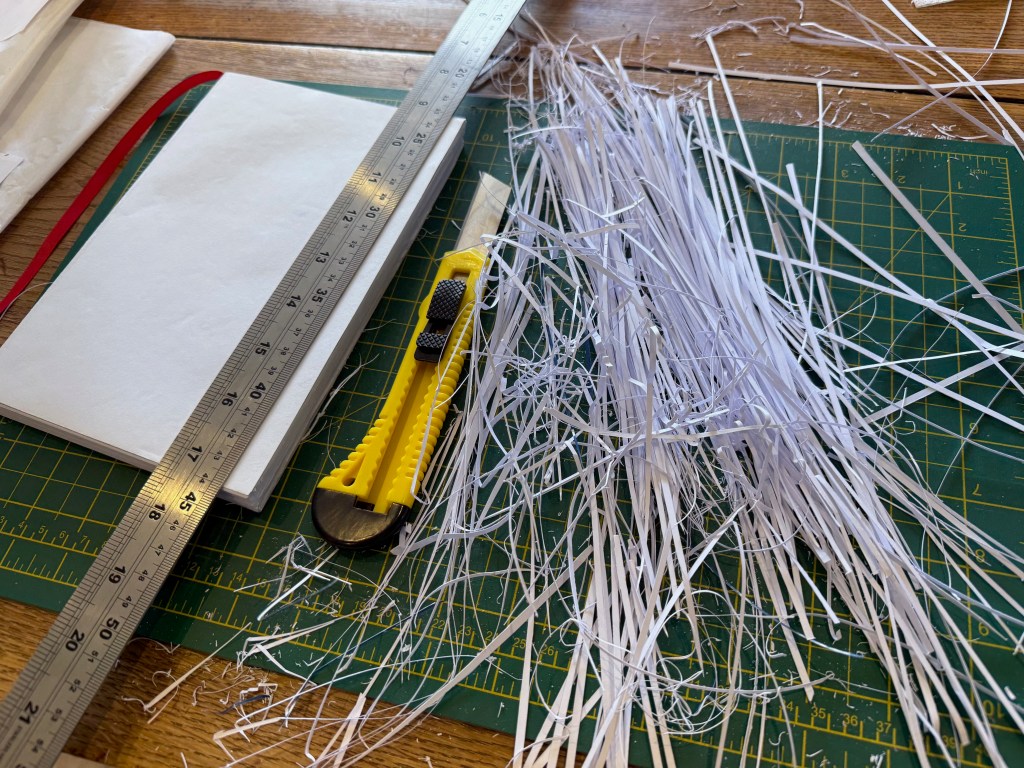
The next step was to trim the edge of the text block. When the paper is folded into signatures the outside sheets have further to wrap around and so protrude less than the inner pages. When they are sewn together it creates a zig zag effect down the edge of the pages and so this needs to be tidied up. A stack paper cutter would be ideal in this situation but the woman in the video successfully used a metal ruler and a craft knife.
This is where it all started to go wrong. I think that the craft knife I used was too lightweight and the blade flexed so that the cut edge was all over the place. I tried to remedy it by re-trimming and unfortunately it turned into something akin to the time I trimmed my daughter’s fringe and in repeated efforts to level it out had to resort to taking her to the local hairdresser to get it fixed – ok, made to look less awful.
In an effort to straighten things up I clamped the text block between two pieces of grey card and used 220 grit sand paper to smooth down the edges, which seemed to make it a bit better. I appeared to be back on track.
The next stage was to make and attach the head and tail bands, and the mull.
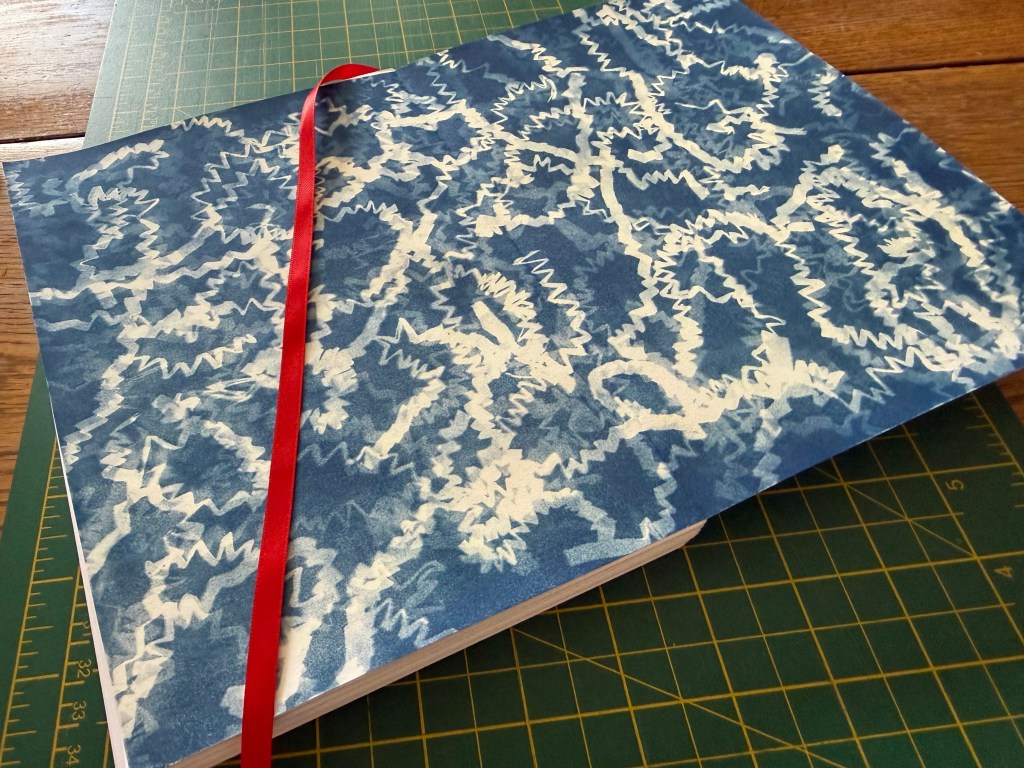
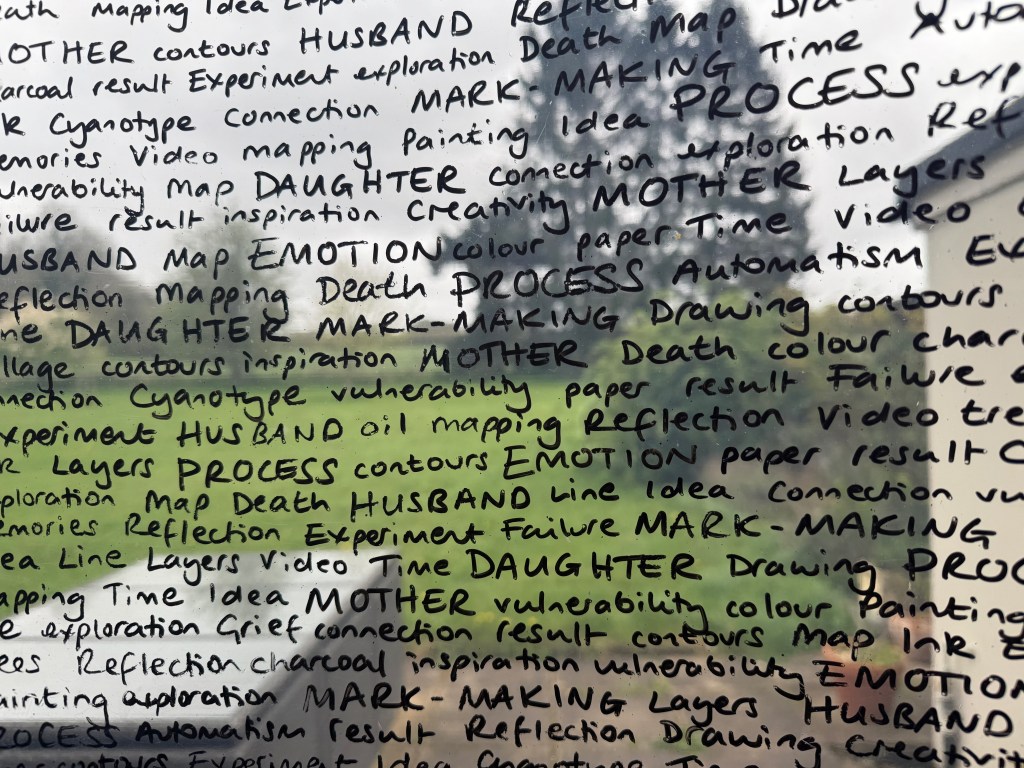
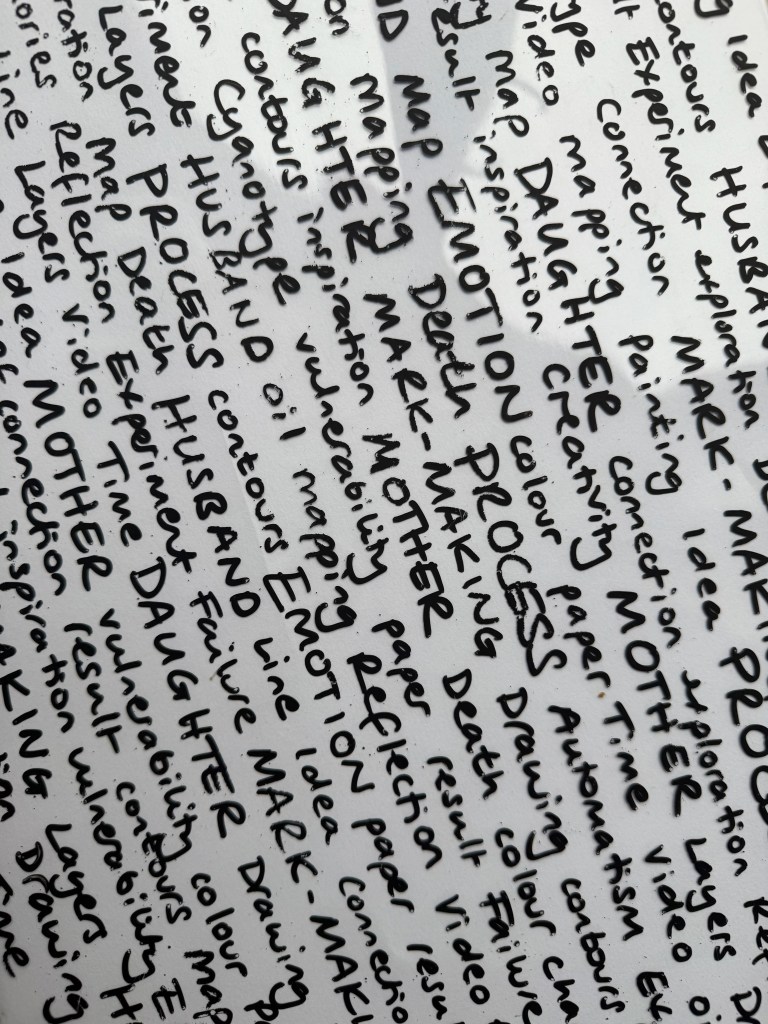
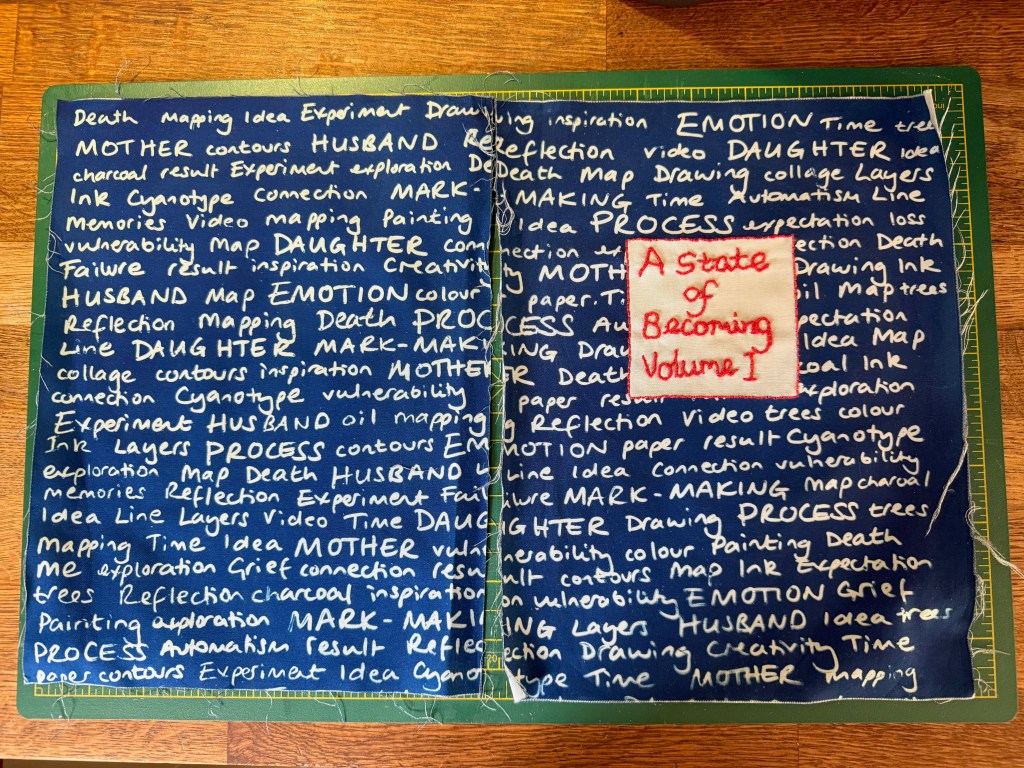
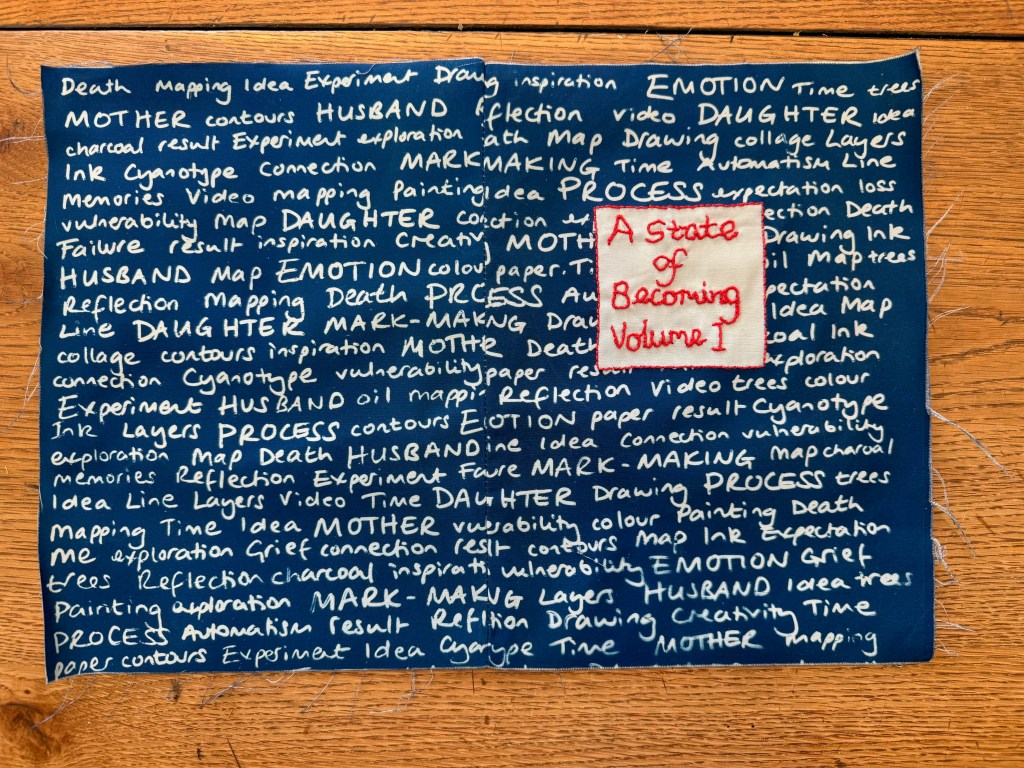
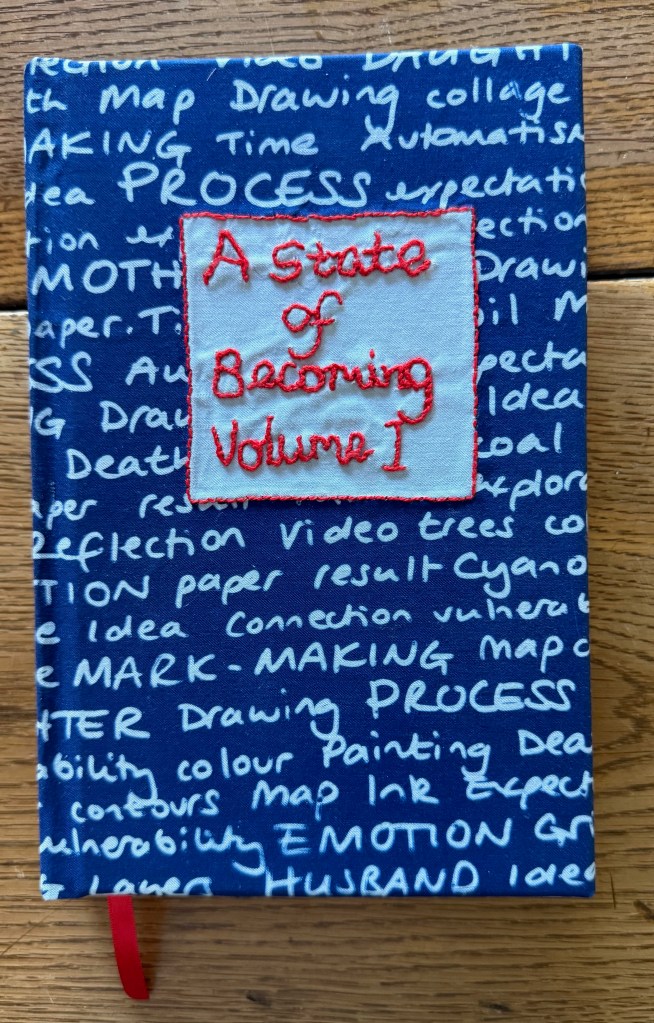
I then had to start thinking about the cover. I decided to make my own book cloth and made a cyanotype using some of the main words from my blog’s tag cloud. I wrote them onto an A3 plastic sheet and used some pretreated fabric, which unfortunately only came in A4. I masked out an area onto which I then ’embroidered’ the title.
To make it into book cloth I sewed it together in such a way that the seam would run down the middle of the spine – unfortunately because of the measurements I couldn’t do it so that the words matched up. I attached some Japanese mulberry paper to the reverse using Heat and Bond.
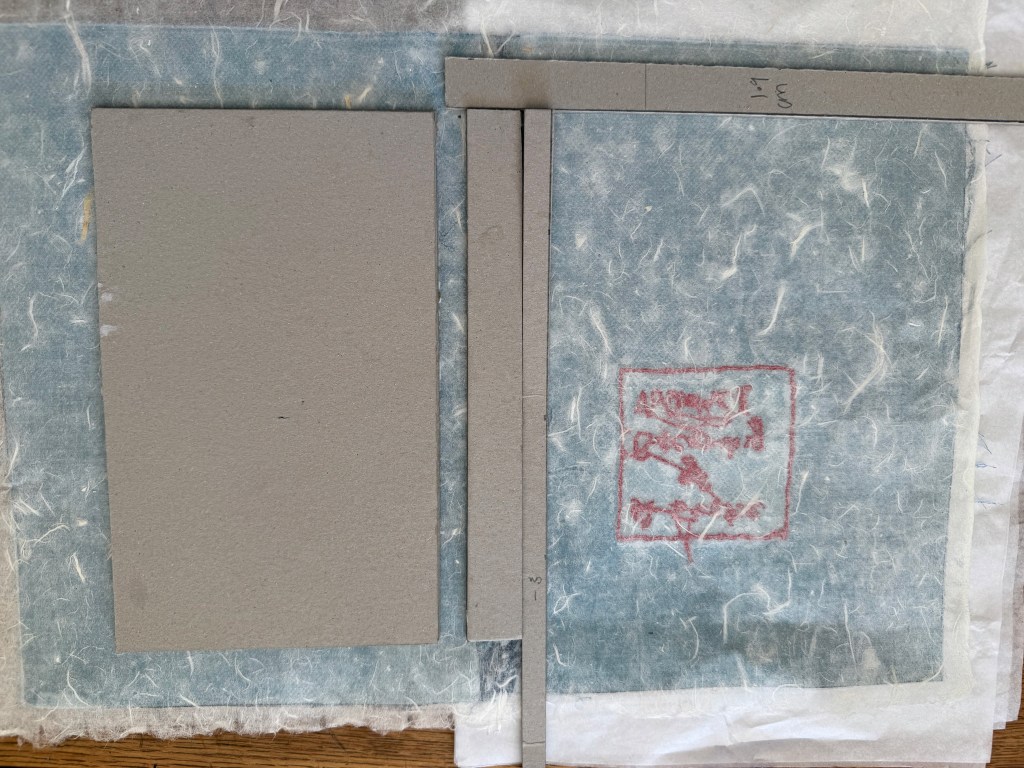
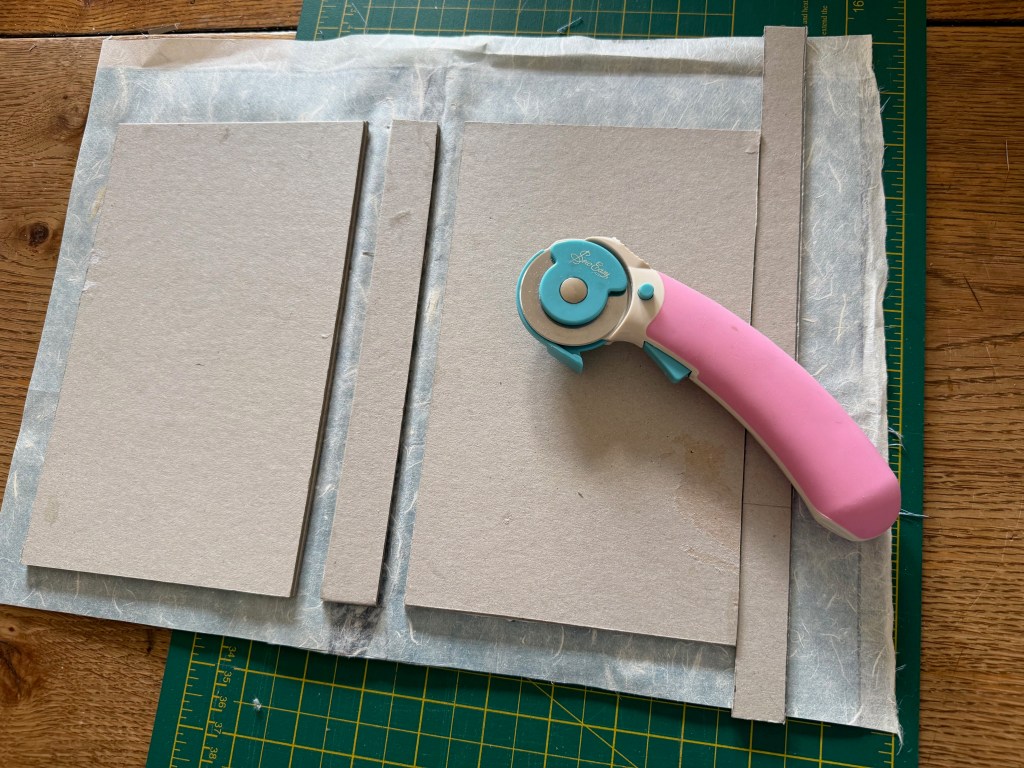
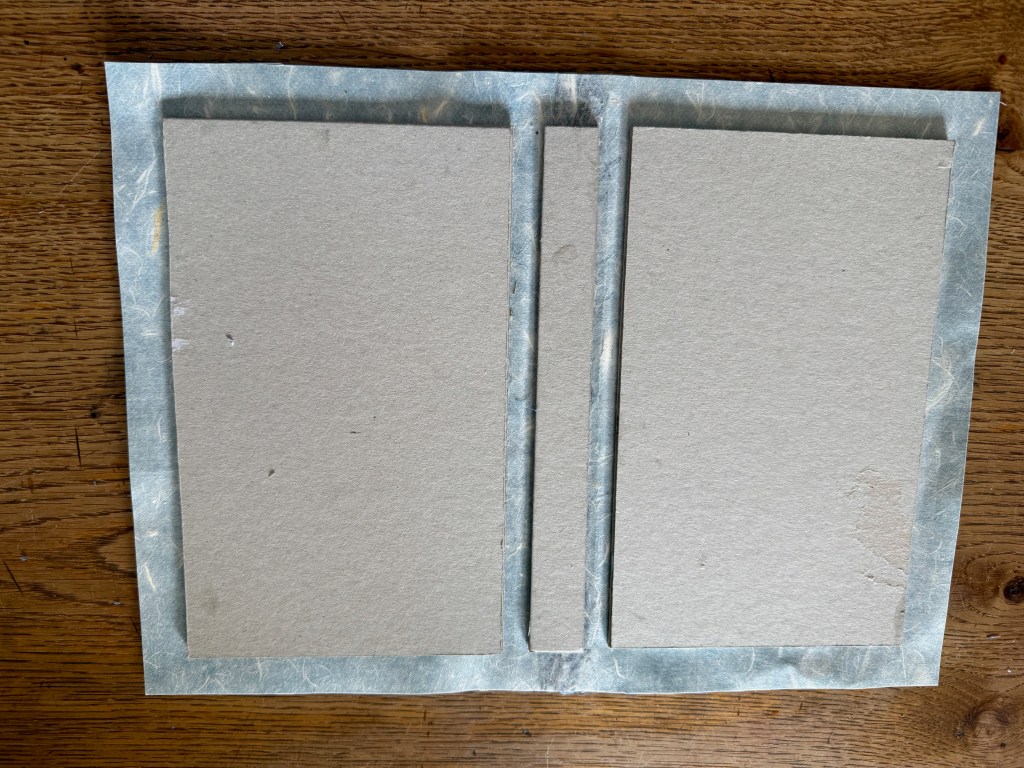
I then measured and cut the front and back boards and the spine, and then taped them together to see how they fitted the text block. The idea was to trim the long edge of the front and back boards so that they overhung the text block by 3mm. And this is where it went irretrievably wrong. I’m not quite sure what happened.
I don’t usually do fiddly and I thought that I was being extra careful in my measuring and cutting but something went wrong somewhere and 3mm doesn’t leave a lot of wiggle room. When I had folded over and glued down the edges of the book cloth I tried putting the text block inside only to find that not only was there no overhang but that the paper protruded beyond the edge of the cover in some places.
I tried removing the spine board and replacing it with thinner card and sanding down the edge of the paper. Eventually it fitted so that there was a miniscule amount of overhang but the price was that the text was very close to the edge of the page. Nevertheless, I carried on because I wanted to complete the process.
So there we have it.
What do I think? I’m amazed that I’ve managed to produce something that looks like a book. For a first effort I’m pretty pleased with it. I feel like it’s a real achievement. Obviously there are some major issues with it but on the whole apart from the last stage I think it went quite well. I really like the cover and the end papers – I think that they work really well. I clearly didn’t set out thinking that it wouldn’t work, otherwise perhaps I would have used substitutes as I’m now going to have to make them all over again. But now that I know what I’m doing and where to be careful, it won’t take as long.
I will remake this book, but not yet. I need to feel like I’m making some progress so I will get going on volume 2, which will hopefully go a bit better, and then come back to it.
On the whole it was an enjoyable process – I enjoyed learning something new. What will I do differently next time? Oh, quite a bit! It was a great exercise from which I learnt:
accuracy in measuring and cutting is crucial
I need to get a more robust craft knife or alterrnatively contact my local printers to see if they can do the trimming for me.
The paper used for the end papers was cut from larger sheets and either wasn’t truly A4 in size or had shrunk after the cyanotyping process as they turned out to be slightly too small, but as usual I thought that I might be able to get away with it. I didn’t. Next time I should make them larger and cut down to size before attaching them to the text block.
Change the font and size of the page numbers
Think about where the thread is on the reverse of the title – connecting threads can cause lumps and bumps once the mulberry paper is bonded to the fabric
I need to adjust the margin settings – I allowed for an inside margin of 1.5cm plus a 0.5cm gutter and an outside margin of 1.5cm. Once the book was put together the inside margin turned out to be quite generous whereas the outside margin turned out to be problematical after my attempts at trimming. I think next time I will reduce the inside by 0.5cm and increase the outer by 0.5cm.
What I find intriguing is that the act of researching and making this book to document my becoming, is itself part of the process of becoming.
This week’s session centred on the Unit 3 assessment and the end of year show.
It was interesting listening to others talking about their planned pieces and how they could be displayed within the space. I can’t deny that I had a small flicker of panic that I don’t have a singular large finale piece in mind. But on the whole I felt quite calm and relaxed about it. Fingers crossed, I will hopefully have my book which is A5 in size. I would also like to show a larger piece but I think that is yet to come. For the time being, I’m feeling confident that something will emerge from my ongoing experimentation over the coming weeks. I just need to be mindful of elements that might be time dependent such as drying etc.
Josh then said it out loud. He acknowledged the end of the course. We then had a moment reflecting on how we feel about it. Eleana commented that she had asked herself whether she would want to repeat the experience (yes) and Rebecca mentioned that she is dealing with it by having plans and making work which go beyond its end date. Personally, I wouldn’t want to repeat it. There was a time when I wondered whether I could apply again, but on reflection I wouldn’t want to go back to the beginning – I have made so much progress. What I would like is for it to continue because I like the structure and I like the people, but that’s not possible, although we can always stay in touch with each other and use the structure and the way of working which we have developed within the course to carry us forward.
I feel that I now have the tools to continue to develop as an artist beyond the end of the course. The problem is time. My fear is that once the structure has gone I will slip into old ways, of allowing the everyday things and the needs of others to suck up my time. At the moment, others accept that I spend periods of time making because there is a reason – the course. But when it is gone I need to find a way to ensure that I keep that time for myself and that others respect it. I think carrying on the blog will be fundamental to this. One can’t really post about the making of work without making it. I also need to think about my future goals and how I might achieve them.
I’ve spent the last few days chained to my laptop copying and pasting most of my 195 blog posts (now plus one!) into a word document. Am I regretting my decision to make a book out of my blog? No, because it feels like it’s ticking a big box somewhere inside of me – it’s keeping my chimp happy – I’m making something that evidences the last two years. It will leave me free to experiment with something else.
That said, I have already reminded myself that I have never made a book before and so the process is very much an experiment, and that I should have no expectations as to the result.
I have formulated a plan though. The book is going to be in A5 format as that avoids the need to deal with things like columns. I’m going to print it in a series of booklets – signatures – of 5 sheets of A4 which equates to 20 pages. These will then be stitched together – I’m currently thinking no more than 10 in a single volume and then covered with a hardback cover. I am thinking that I may use some canvas that I have knocking around which I could paint, draw, print and stitch onto. Alternatively, I could try sheer fabric, cotton or linen. I’ll need to experiment. Even the end papers could be pieces in themselves.
I have already formatted and printed off a couple of signatures. It’s definitely going to run to more than a single volume, so I think that I’ll format and print off the first 10 signatures and make a single book just to see how it goes, rather than spending time formatting and printing out all of the blog.
Thus far the process has revealed a couple of things. Firstly, I need to be mindful that future posts will have to be included, so it may be an idea to limit posts going forward – but who am I kidding? Secondly, in carrying out the exercise I have relived the past two years and it has been helpful to note ideas that I have had along the way and which I could develop in the future, as well as discovering some draft posts which I didn’t publish, perhaps because I wasn’t quite ready. This is an example of part of one which was on the subject of perfectionism:
‘But old habits die hard and when my mother became ill I couldn’t process it on an emotional level and so I became the best carer that I could be, which now I regret because at times it meant that I wasn’t the best daughter that I could have been. To this day I can’t understand why, when she said she fancied a gin and tonic, I told her that she couldn’t have it because she was taking morphine. She was dying, what did it matter? It is one of my biggest regrets. And when she didn’t eat one of the many offerings I had made for her, it was because I was a failure, because I wasn’t able to find that one thing that she would want to eat.
I had the same thought this evening as Monty, the dog, only had a few little bits of meat which he had been quite happily eating yesterday. What am I doing wrong? What is it that he wants that I’m not offering him?
And, of course, the answer is nothing. I can only do what I can do in the circumstances. If he was hungry he would eat. If my mother had been hungry she would have eaten. Even if they did eat, it’s not really enough to make any significant difference. I’m not responsible for them not eating. There is nothing that I can do on a practical level anymore to avoid having to deal with the inevitable outcome. ‘